Polydoodle (Godot 4.x)
Polydoodle Tutorial
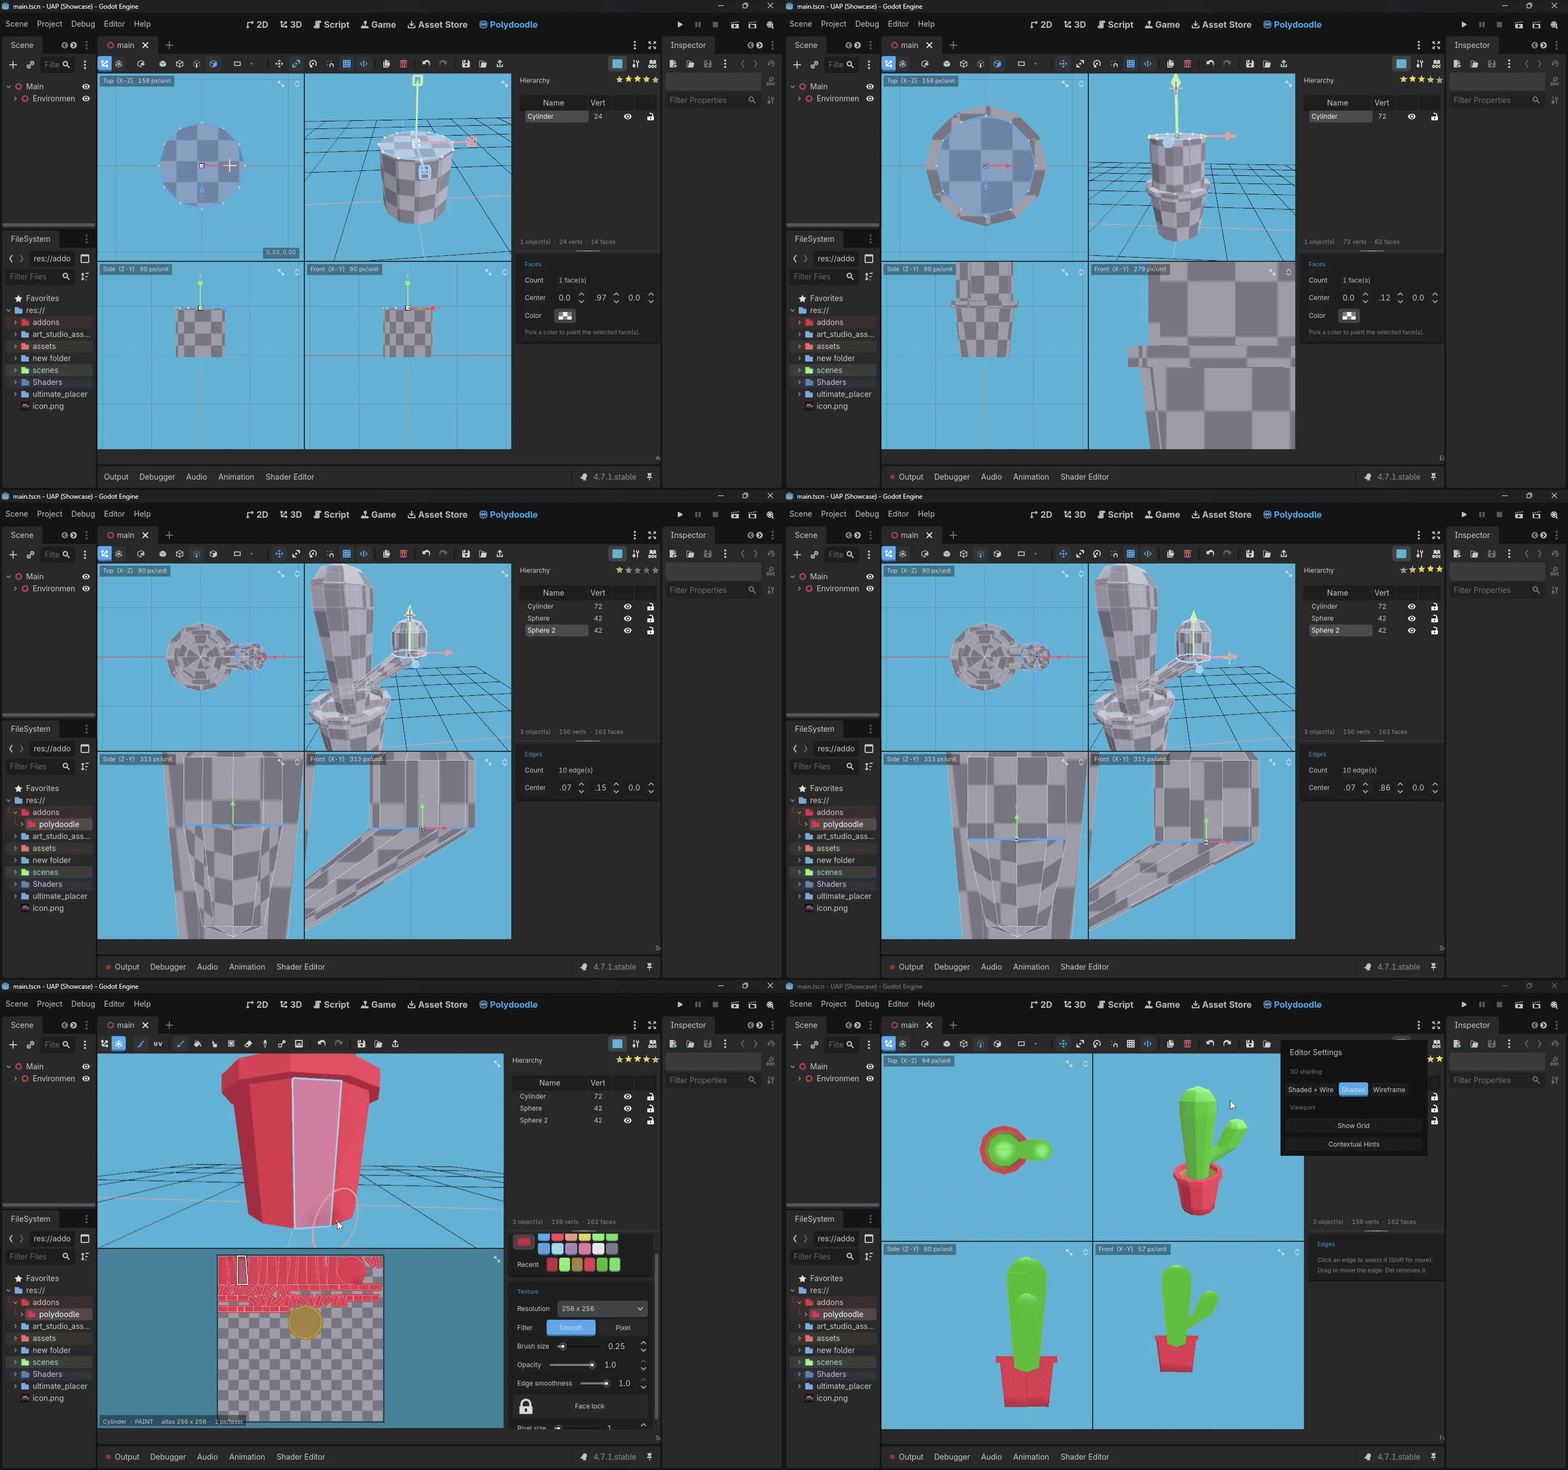
Polydoodle - Beginner to Advanced Guide
This is the long version - everything Polydoodle does, with pictures. If you'd rather just poke around, that works too; this'll still be here when you get stuck on something.
Quick links: Plugin page · Rate it
Getting it installed
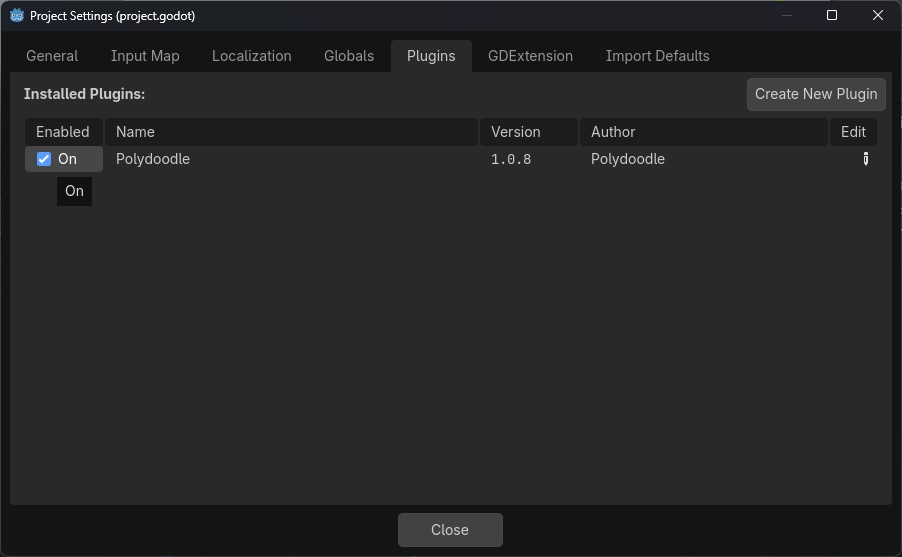
Unzip the plugin into your project's addons/ folder, then go to Project Settings → Plugins and flip Polydoodle on. A new panel shows up at the bottom of the editor - that's it, you're in.
The two workspaces
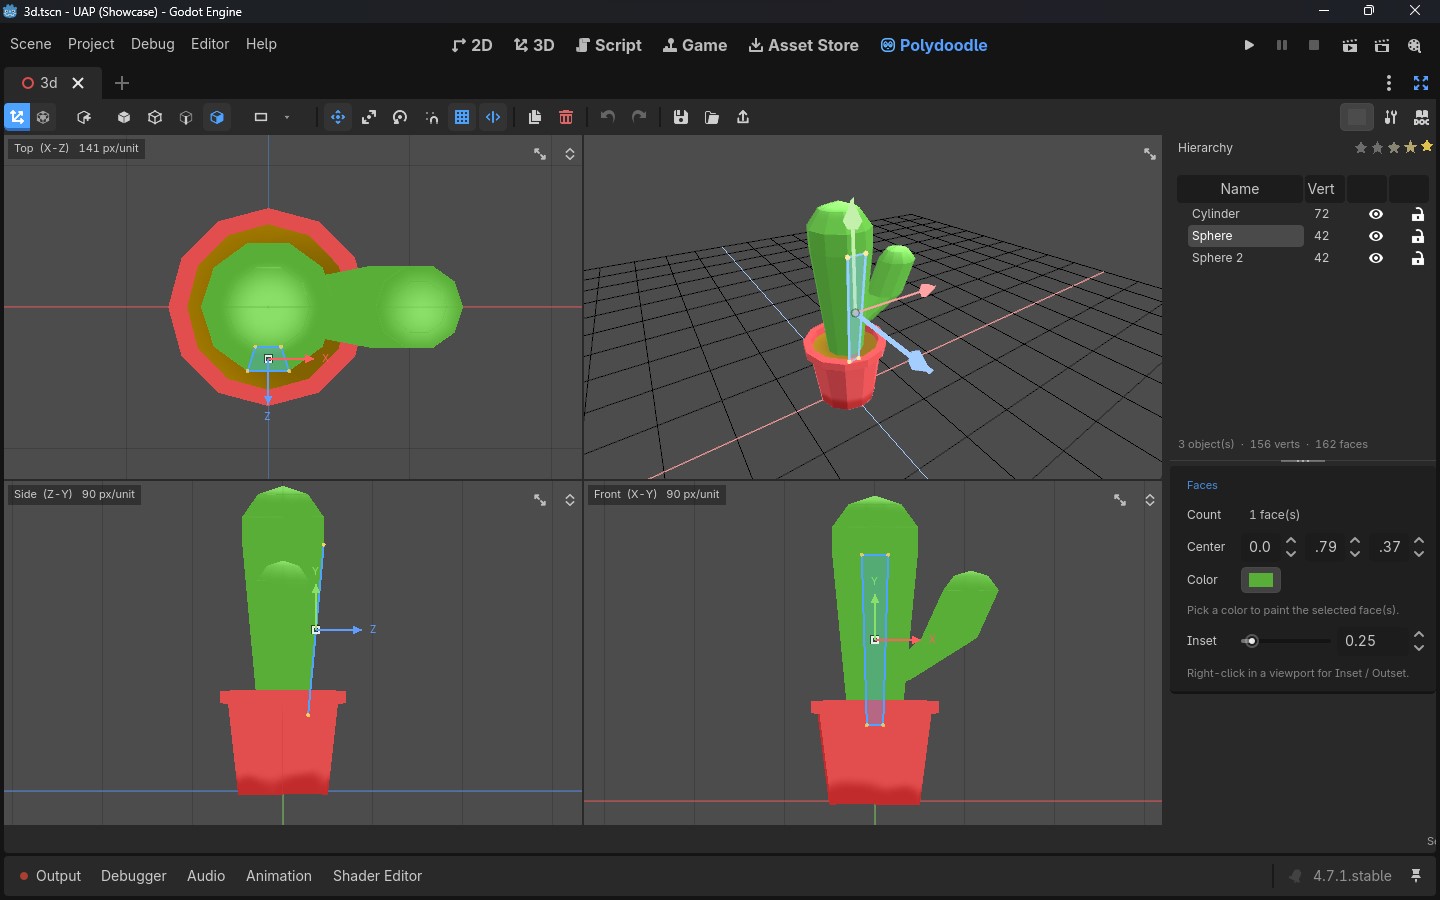
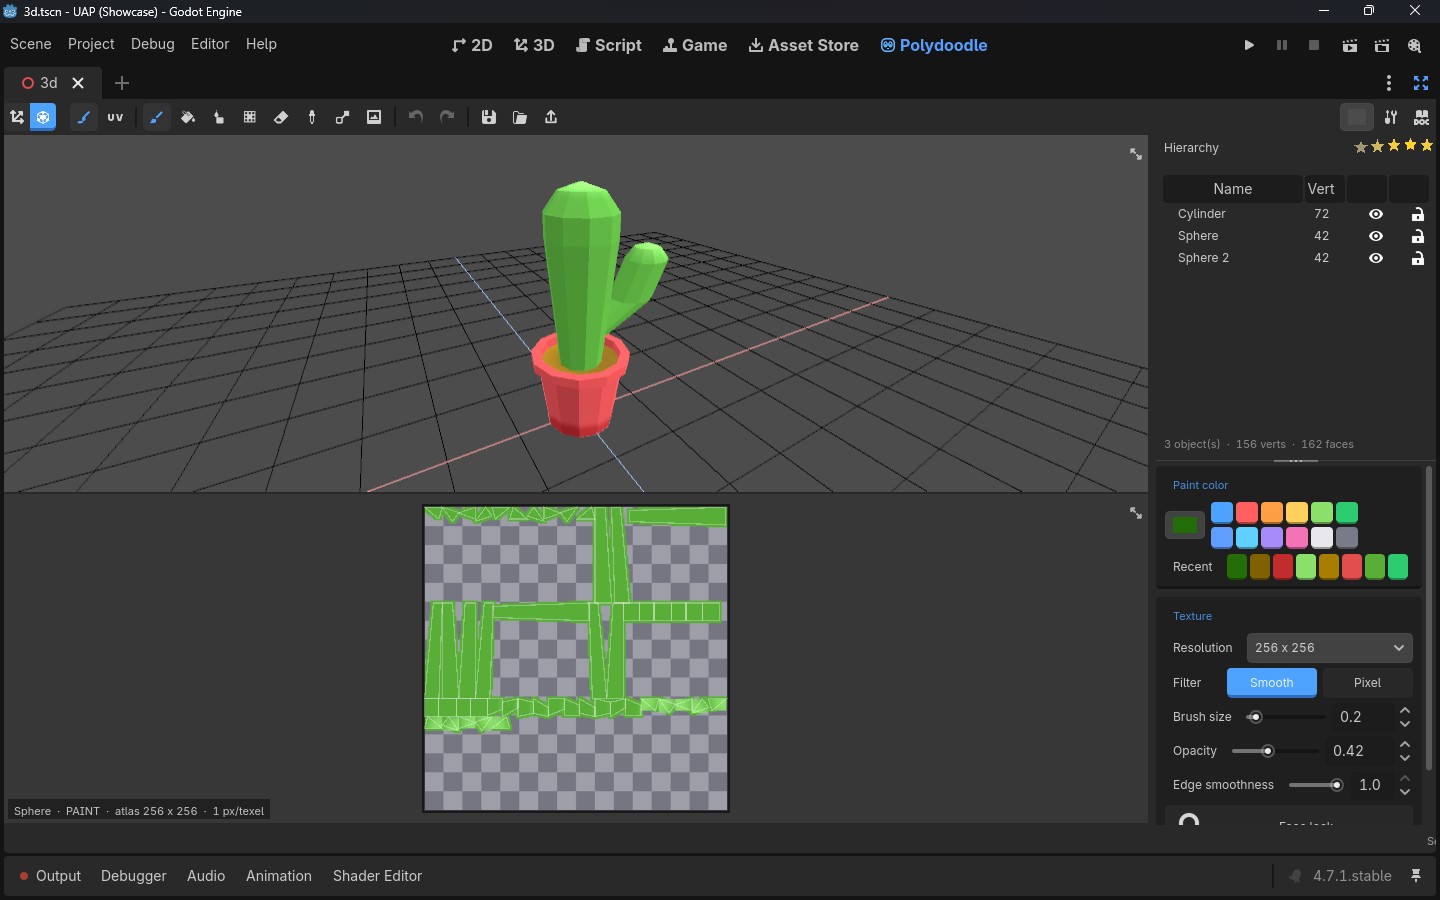
Polydoodle is really two editors sharing one panel. The first toolbar button switches between them (or just press 6):
- 3D Editor - the quad view, four viewports (Top, Front, Side, Perspective). This is where you build shapes.
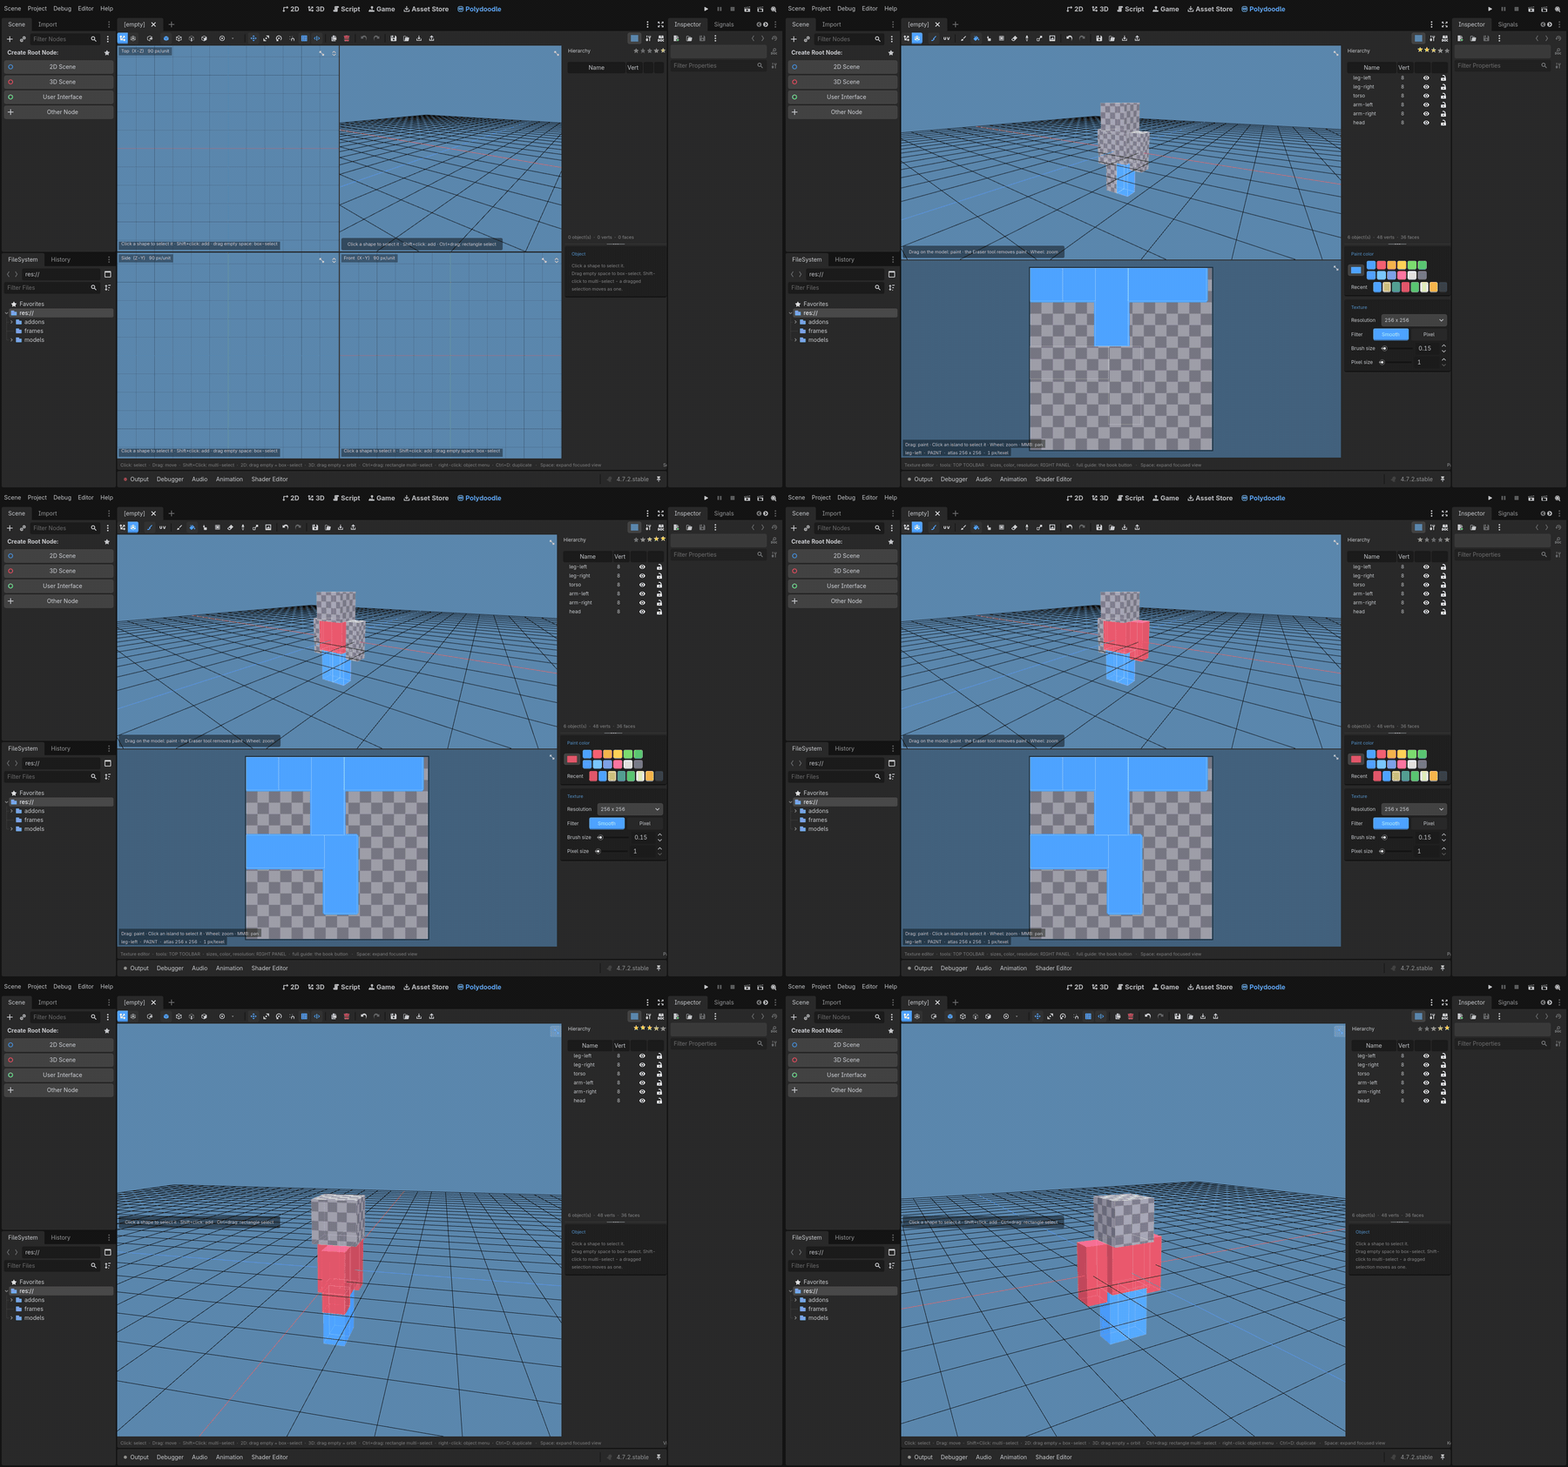
- Texture Editor - the 3D view shrinks to the top, a texture canvas takes the bottom half. This is where you paint.
They're connected the whole time. Paint something and it shows up on the model instantly, no switching back and forth to check.
Starting a shape
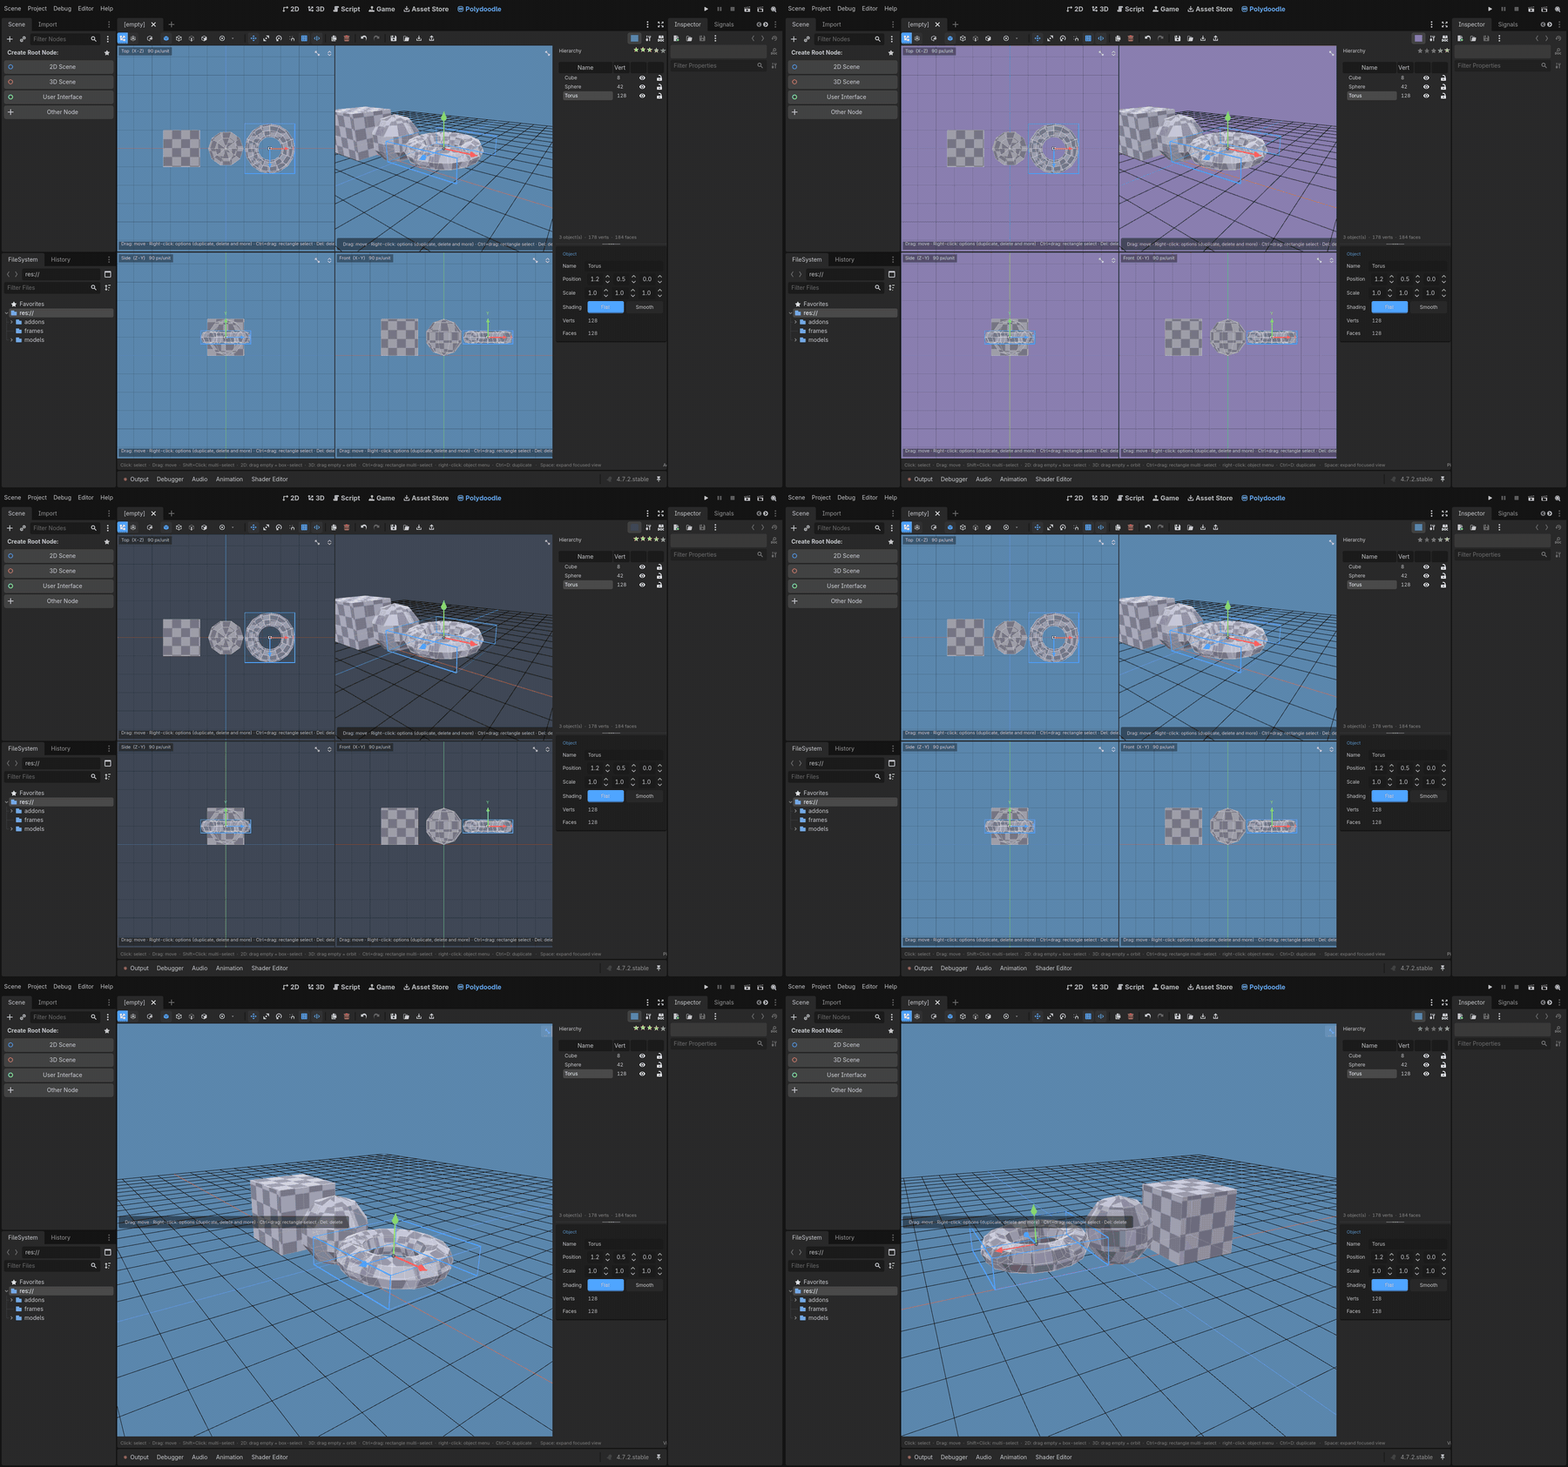
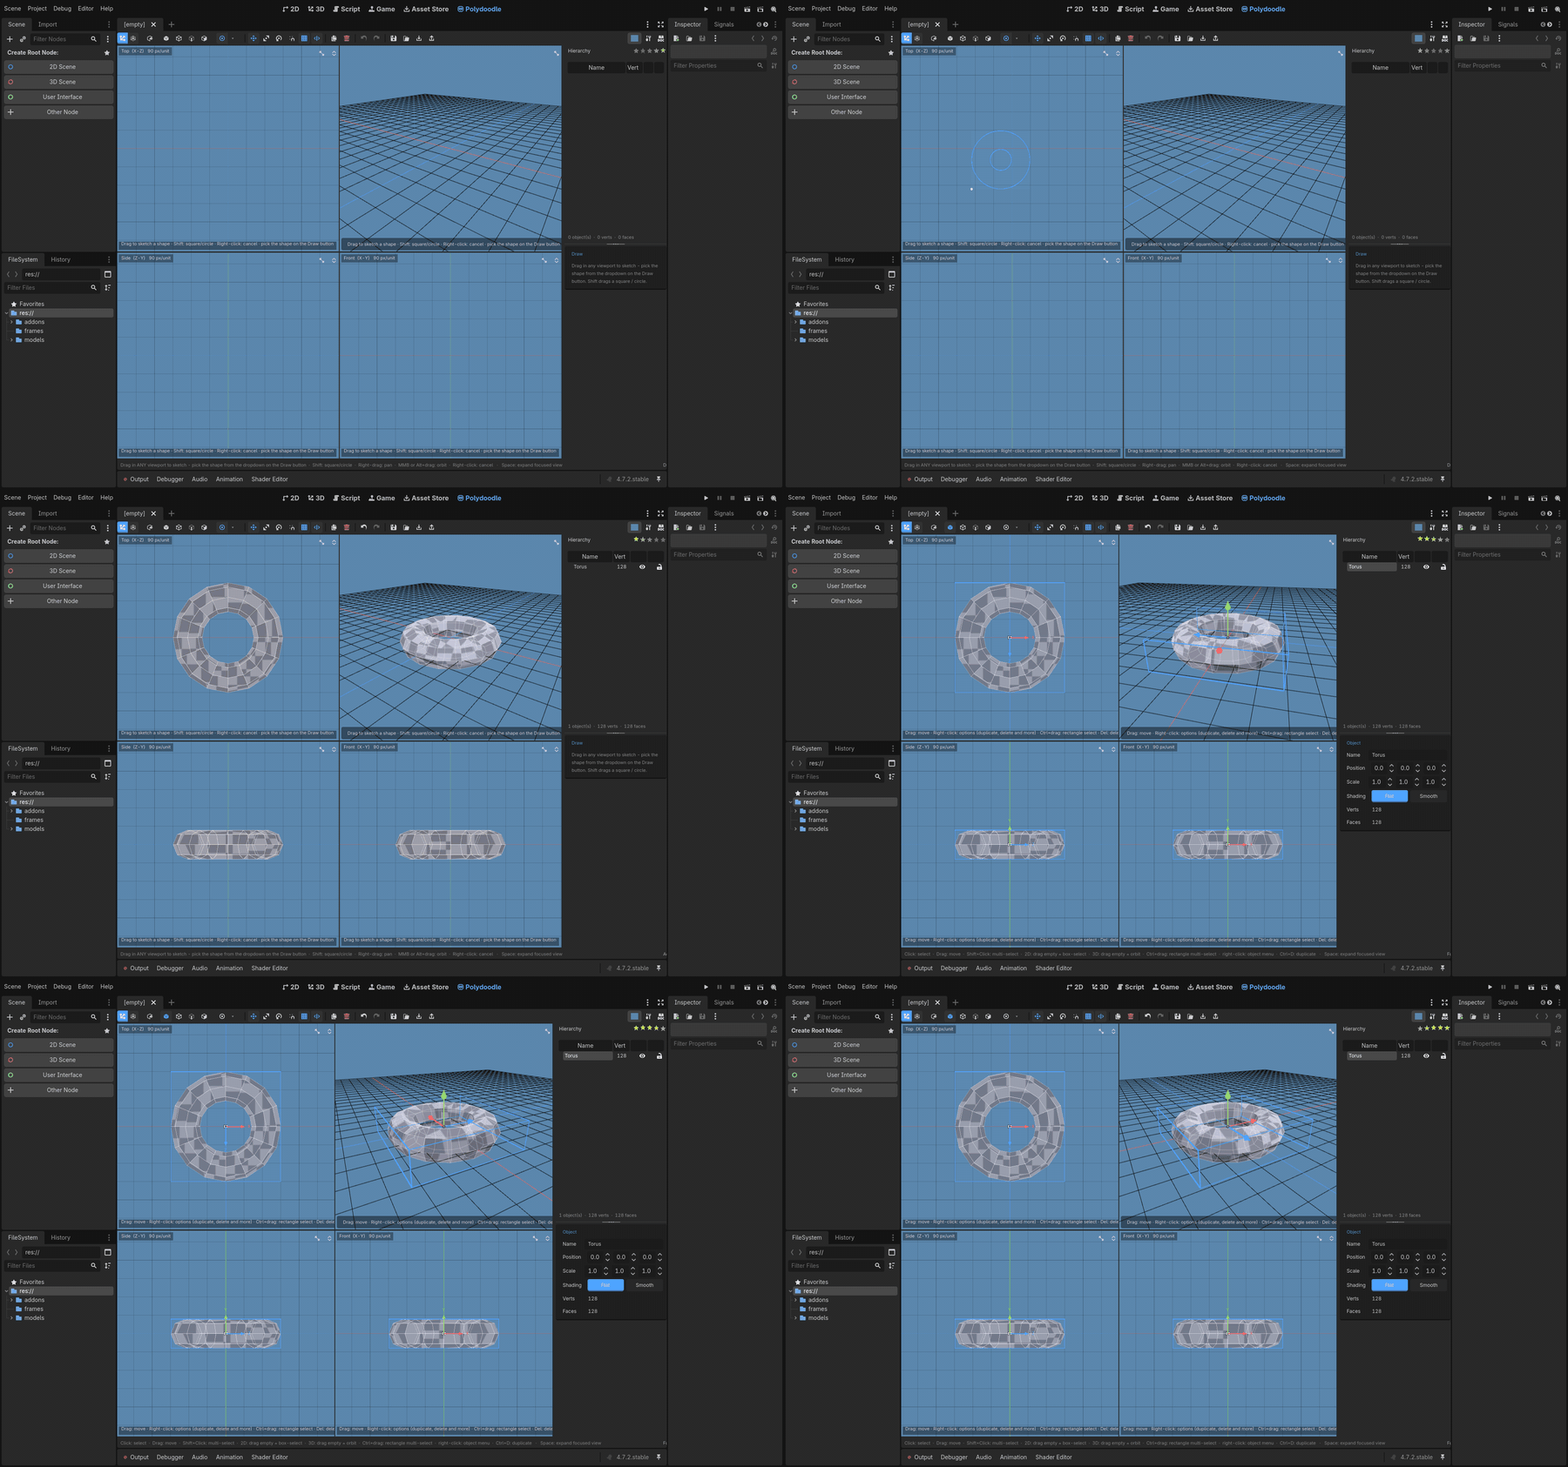
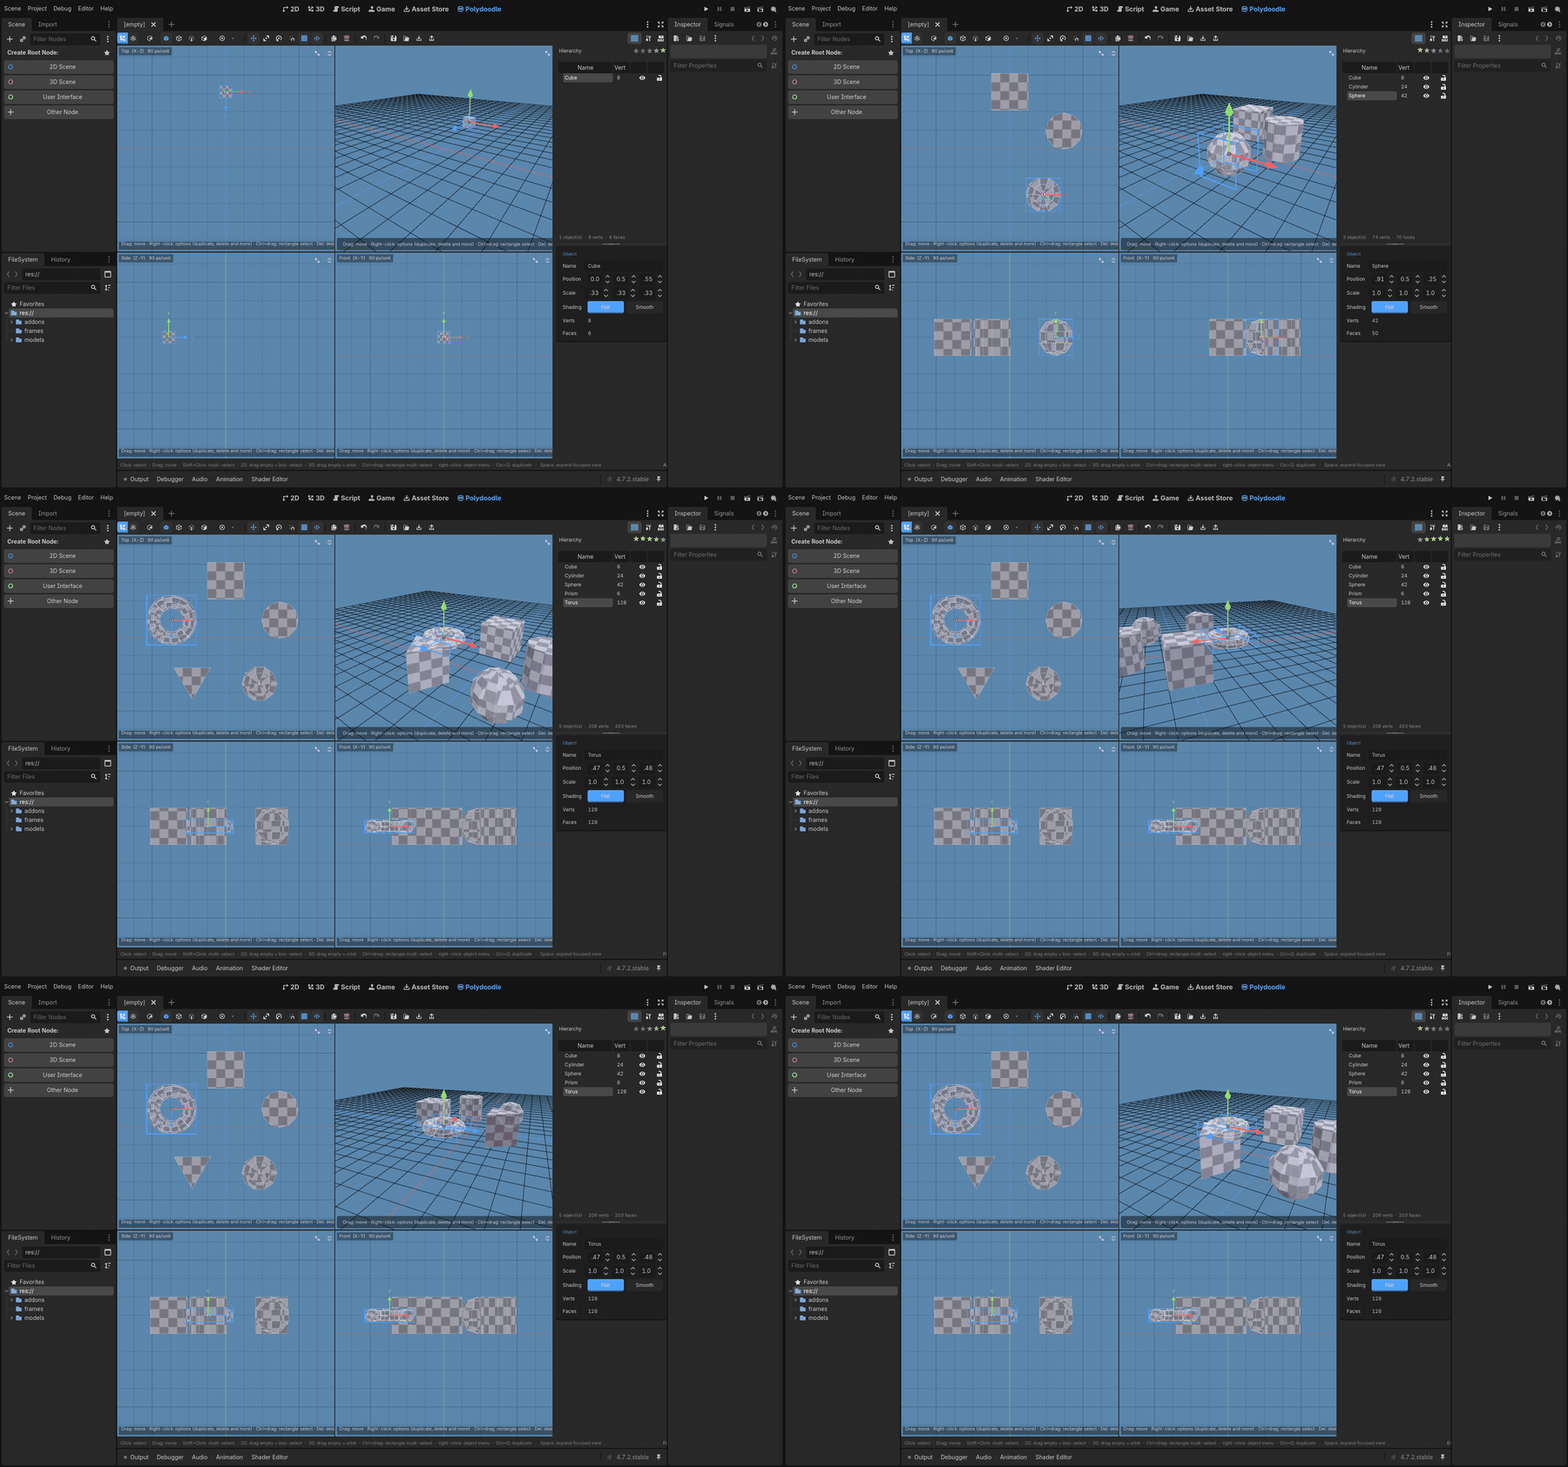
Hit Add in the toolbar for a primitive - Cube, Plane, Cylinder, Sphere, Prism, or Torus. Or skip primitives entirely and draw: pick Freehand from the Draw tool and just sketch a closed loop in any viewport. It becomes a real, editable shape right away.
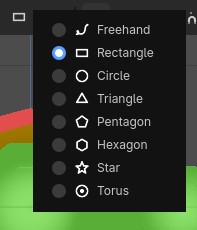
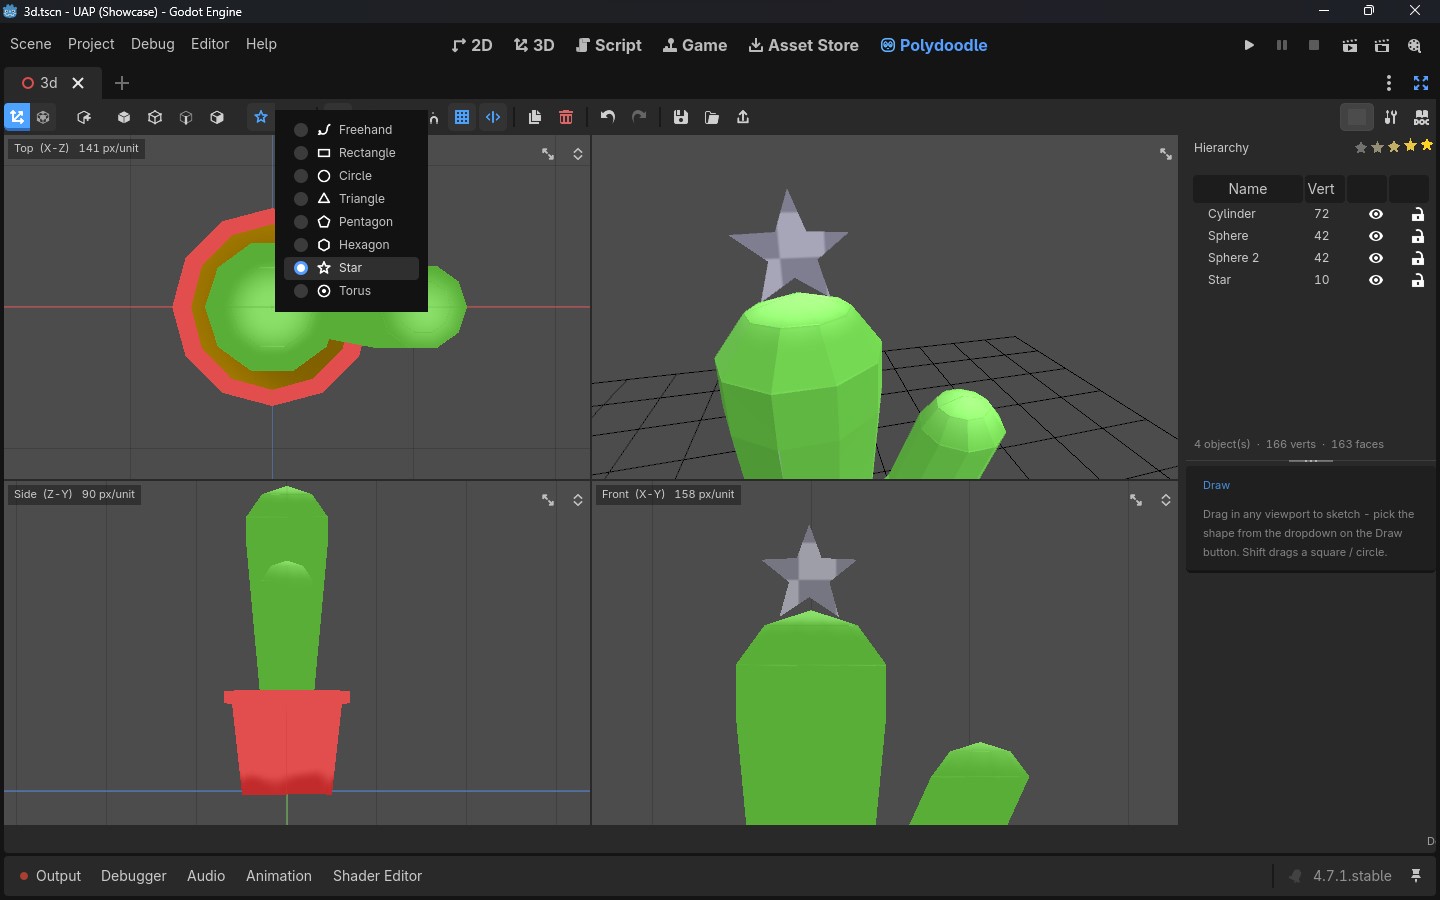
There's also a handful of shape stamps - rectangle, circle, triangle, pentagon, hexagon, star, torus - that drop straight onto whatever face is under your cursor. So if you want a window on a wall, you draw the window directly on the wall. No separate shape to line up afterward.
Selecting and editing
Four modes, keys 1 through 4: Object, Vertex, Edge, Face. Click something to select it, Shift+click to add more. In any 2D view you can drag over empty space to box-select; in the 3D view, hold Ctrl and drag to do the same thing.
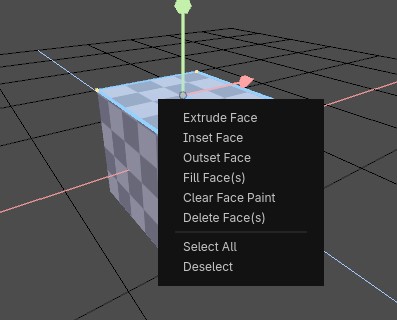
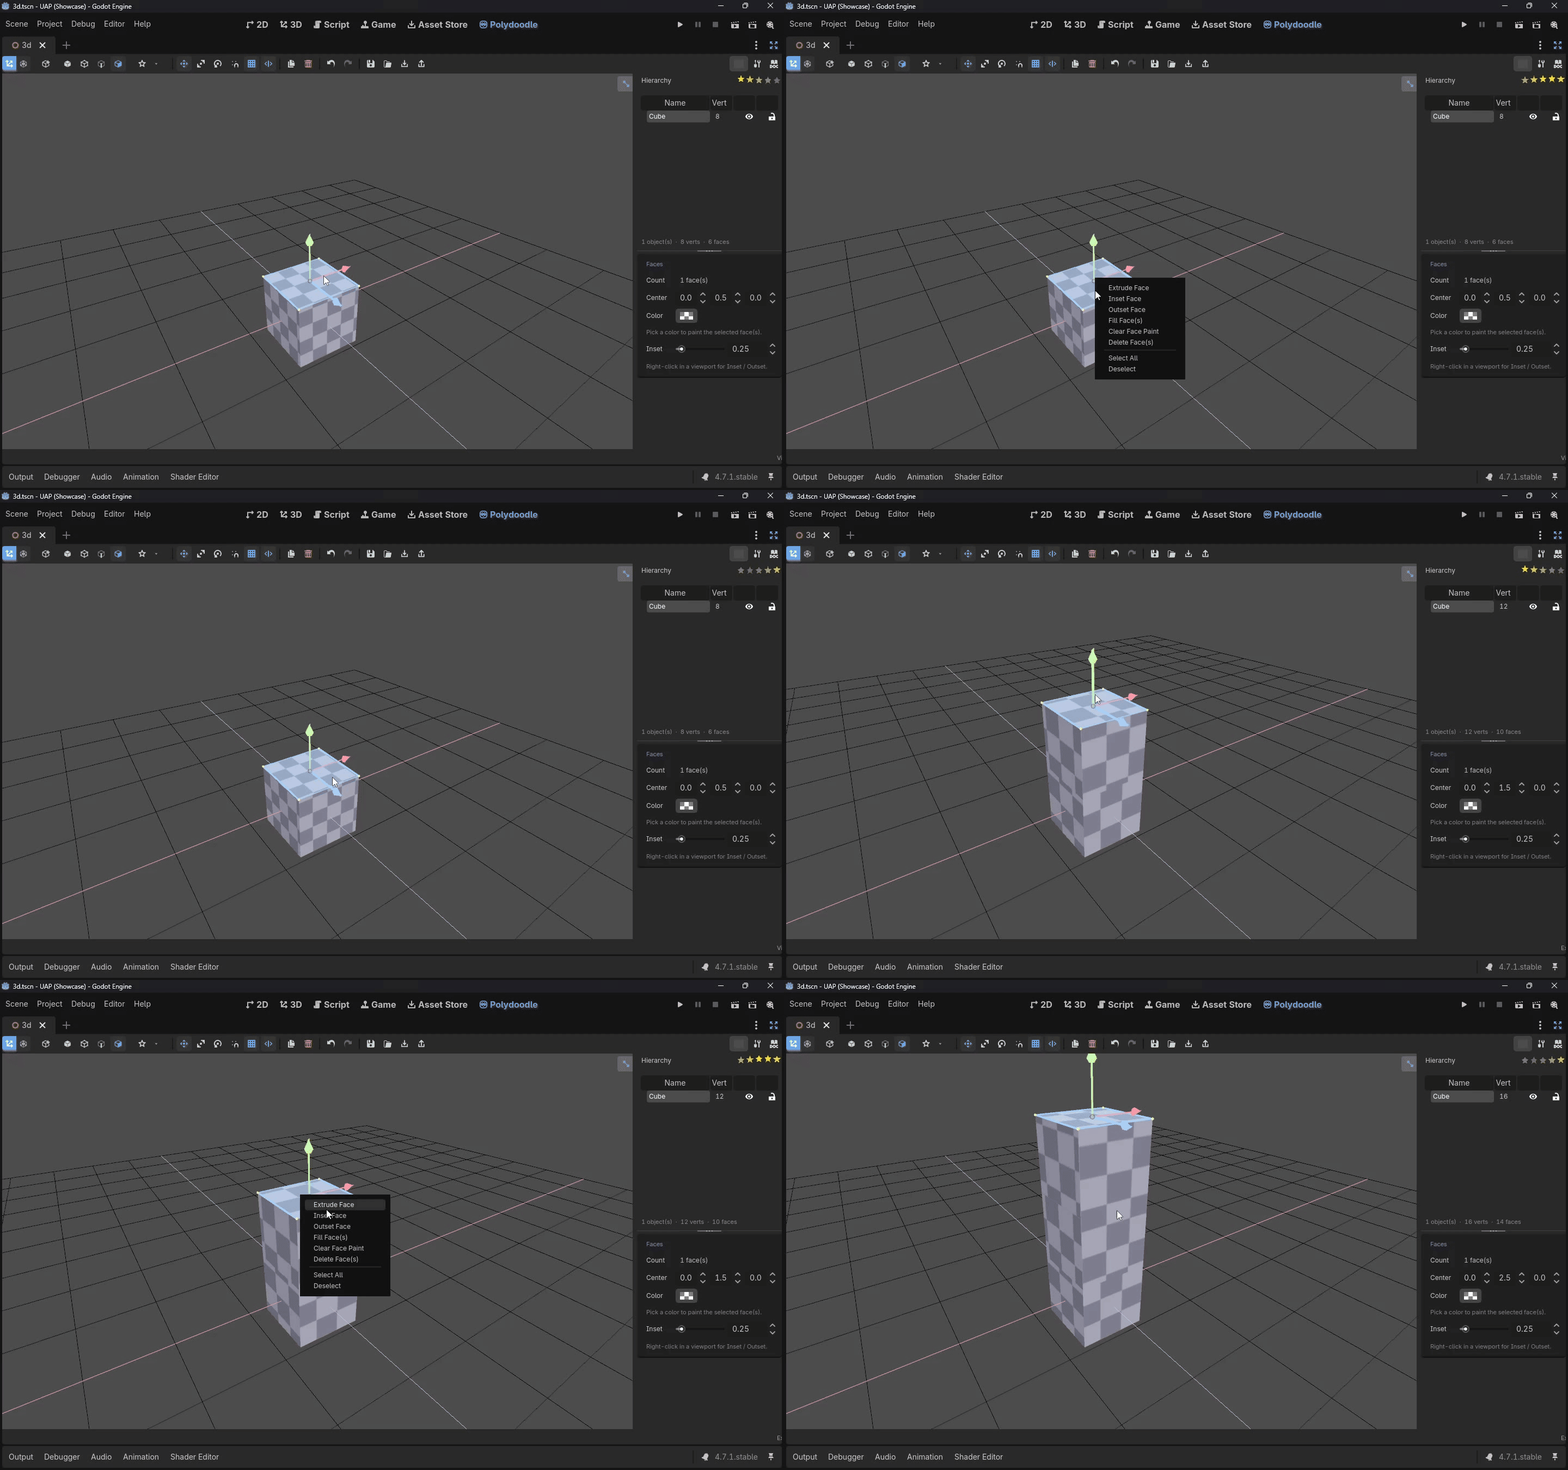
Right-click gives you the actual editing tools depending on your mode - merge vertices, extrude edges, and on faces you get a few options worth knowing:
- Extrude (Individual) pushes every selected face out along its own direction.
- Extrude (Combined) treats the whole selection as one shape and extrudes it together - useful when you've selected a connected patch and don't want a wall built between every single face.
- Inset / Outset shrinks or grows a face within its own plane, which is the move for paneling, framing, or just adding detail without extruding anything.
Moving things around
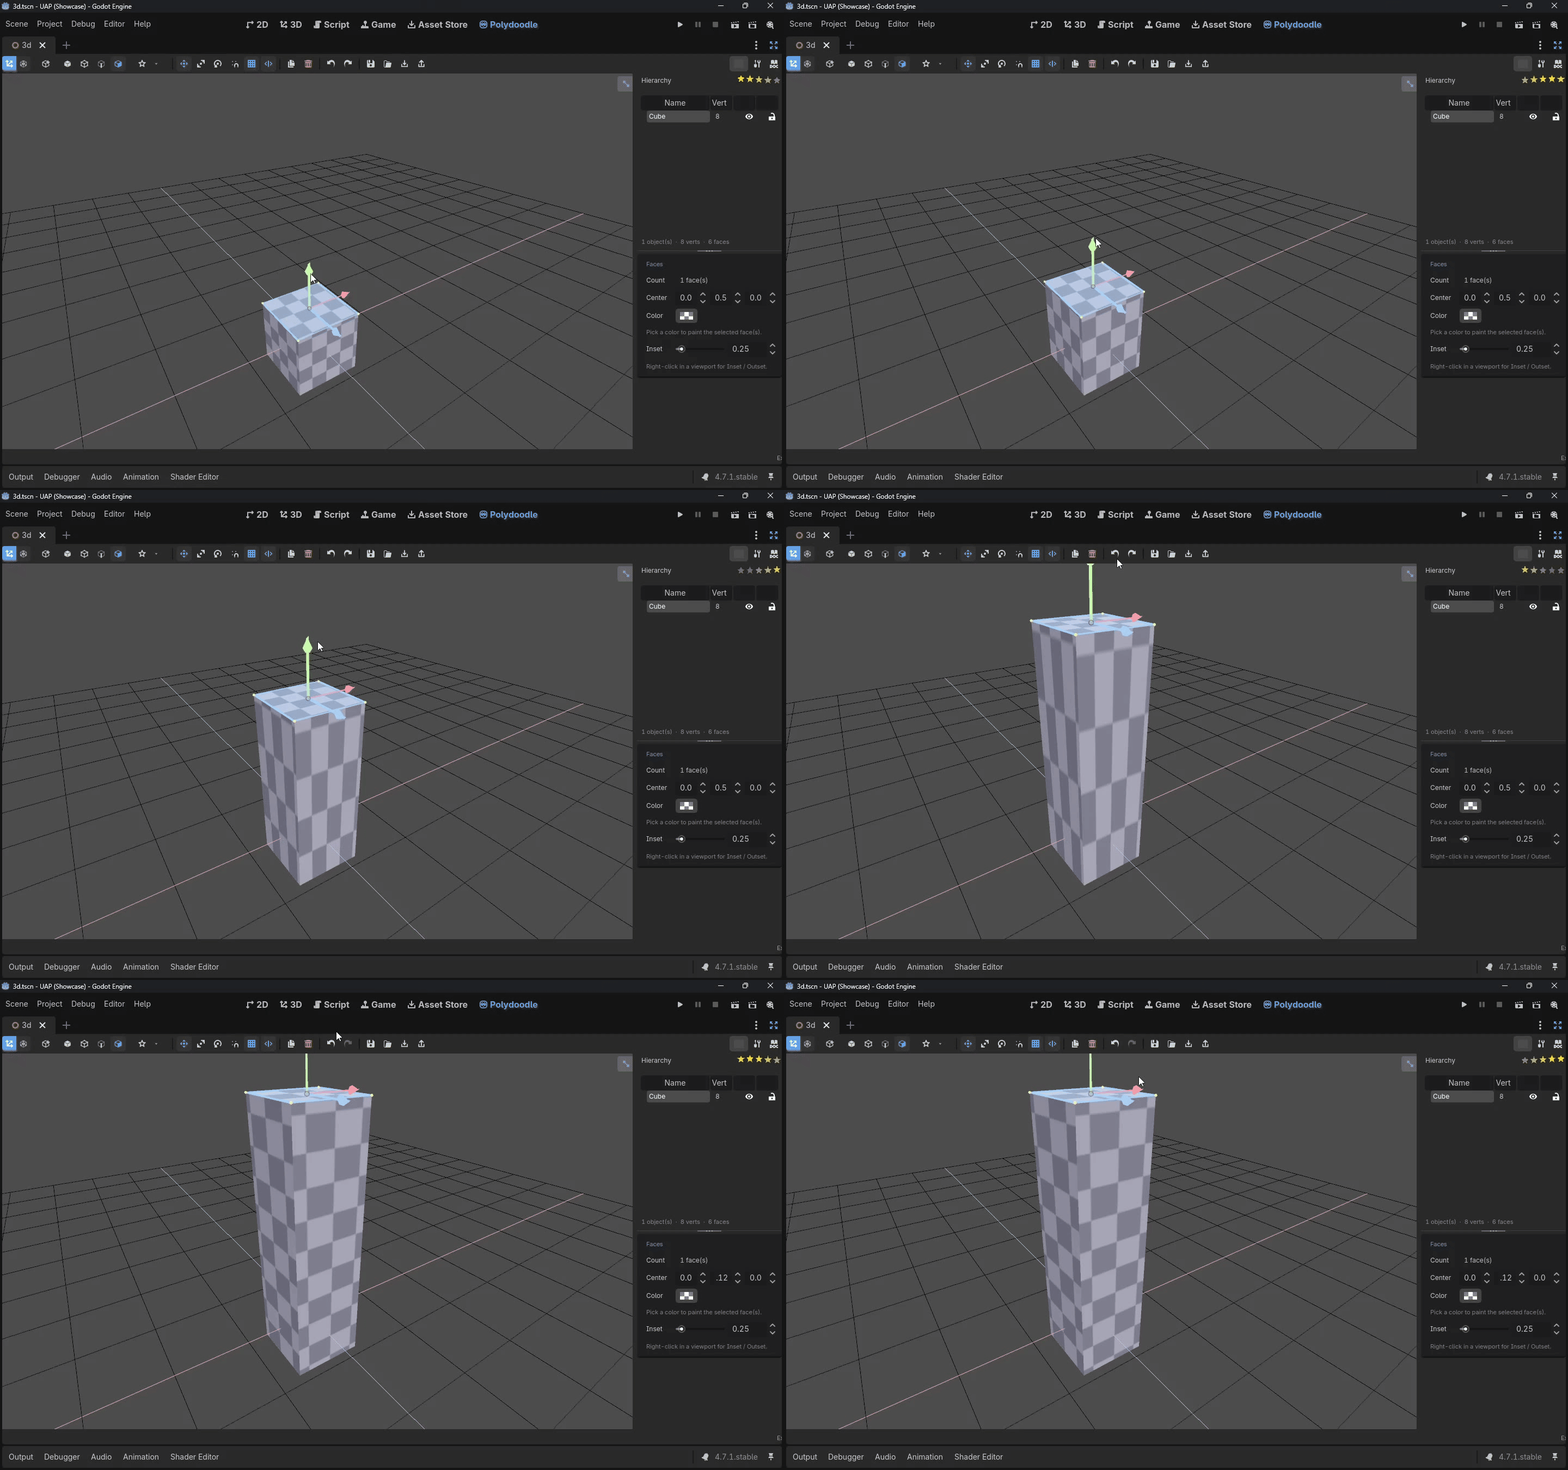
The Move, Scale, and Rotate gizmos show up once something's selected - click the toolbar icon, or press G, S, or R while you're in the 3D view. They work on whole objects or on just a selected handful of vertices or faces, so you can grab one wall's top edge and pull it up without touching anything else.
Turn Snap on (T) and everything lands on the grid cleanly - handy when you want things to actually line up instead of eyeballing it.
Flat vs smooth shading
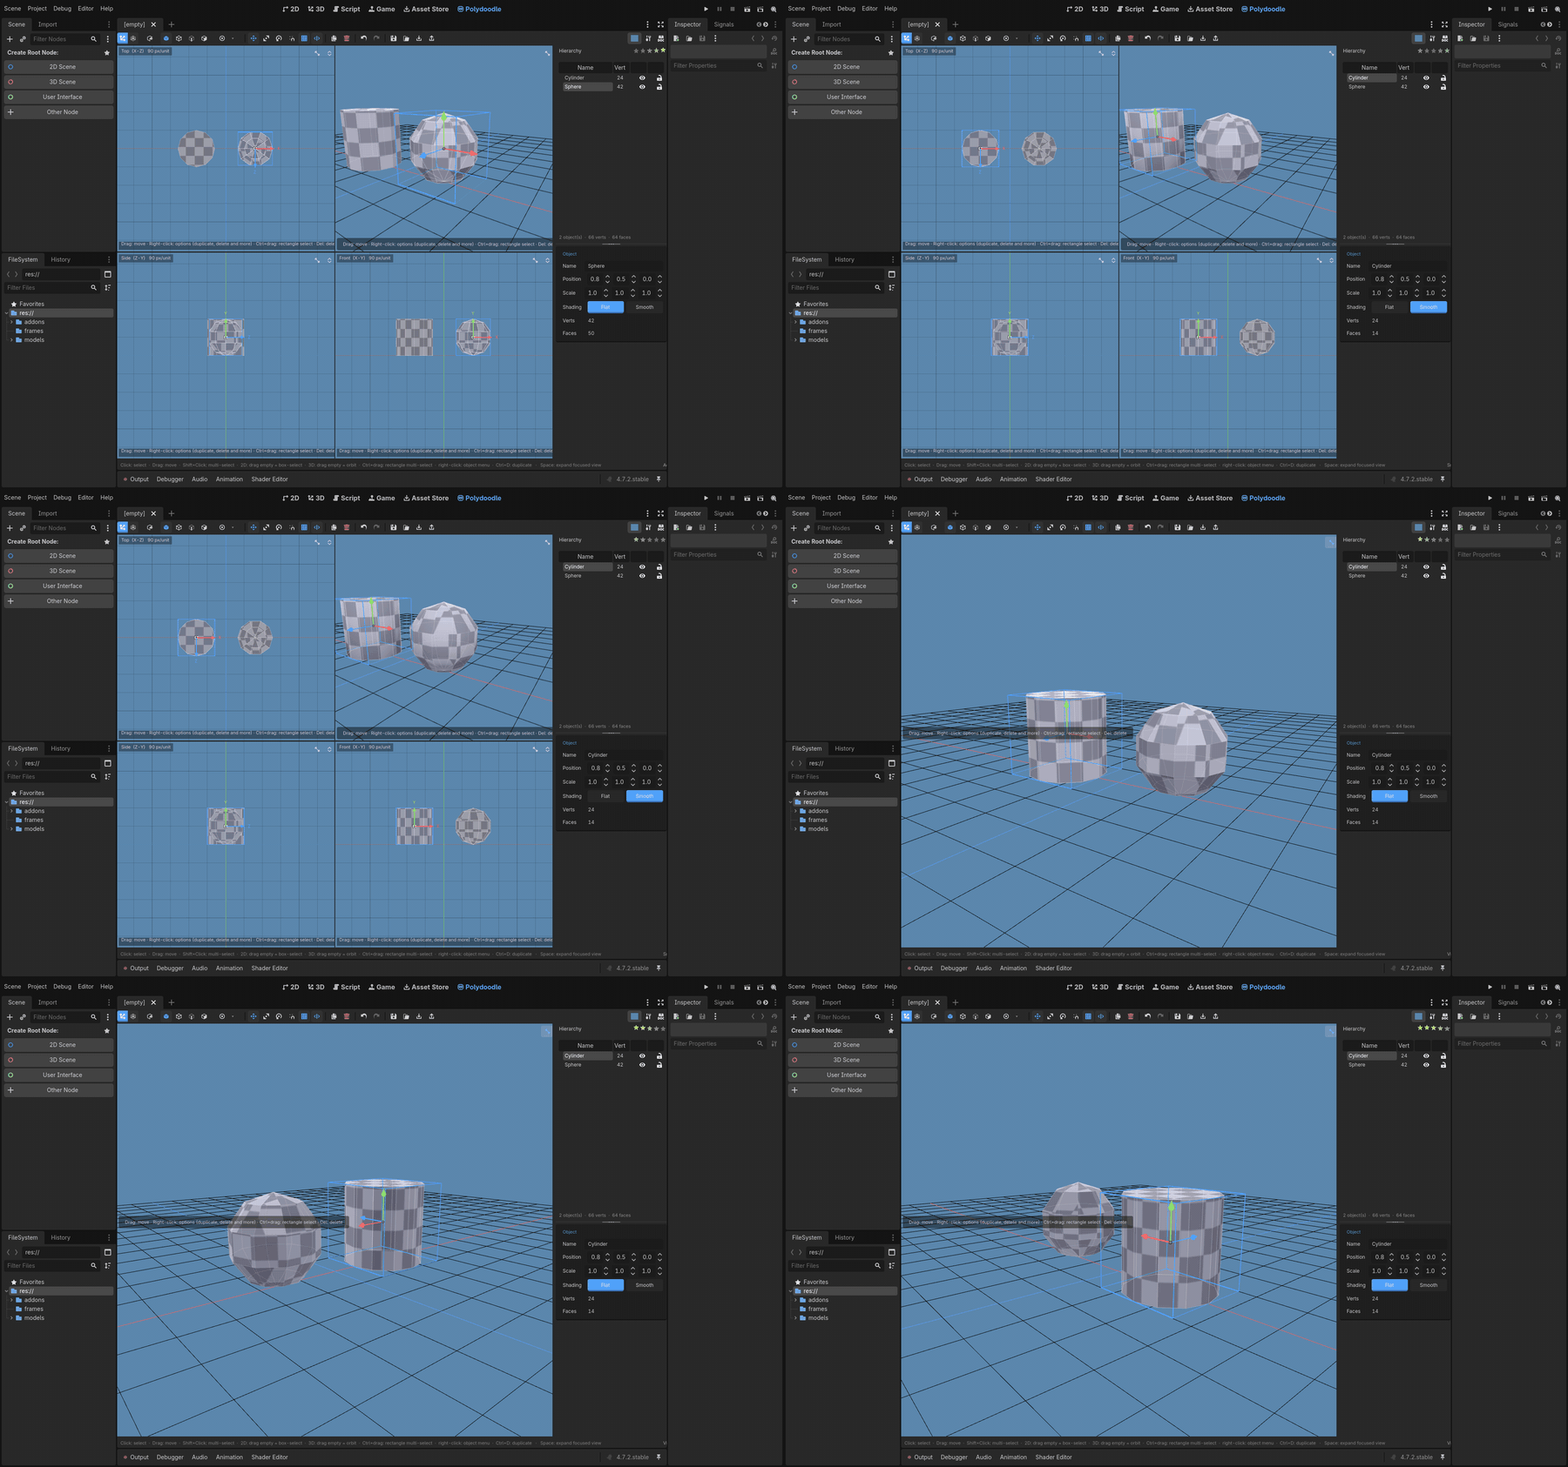
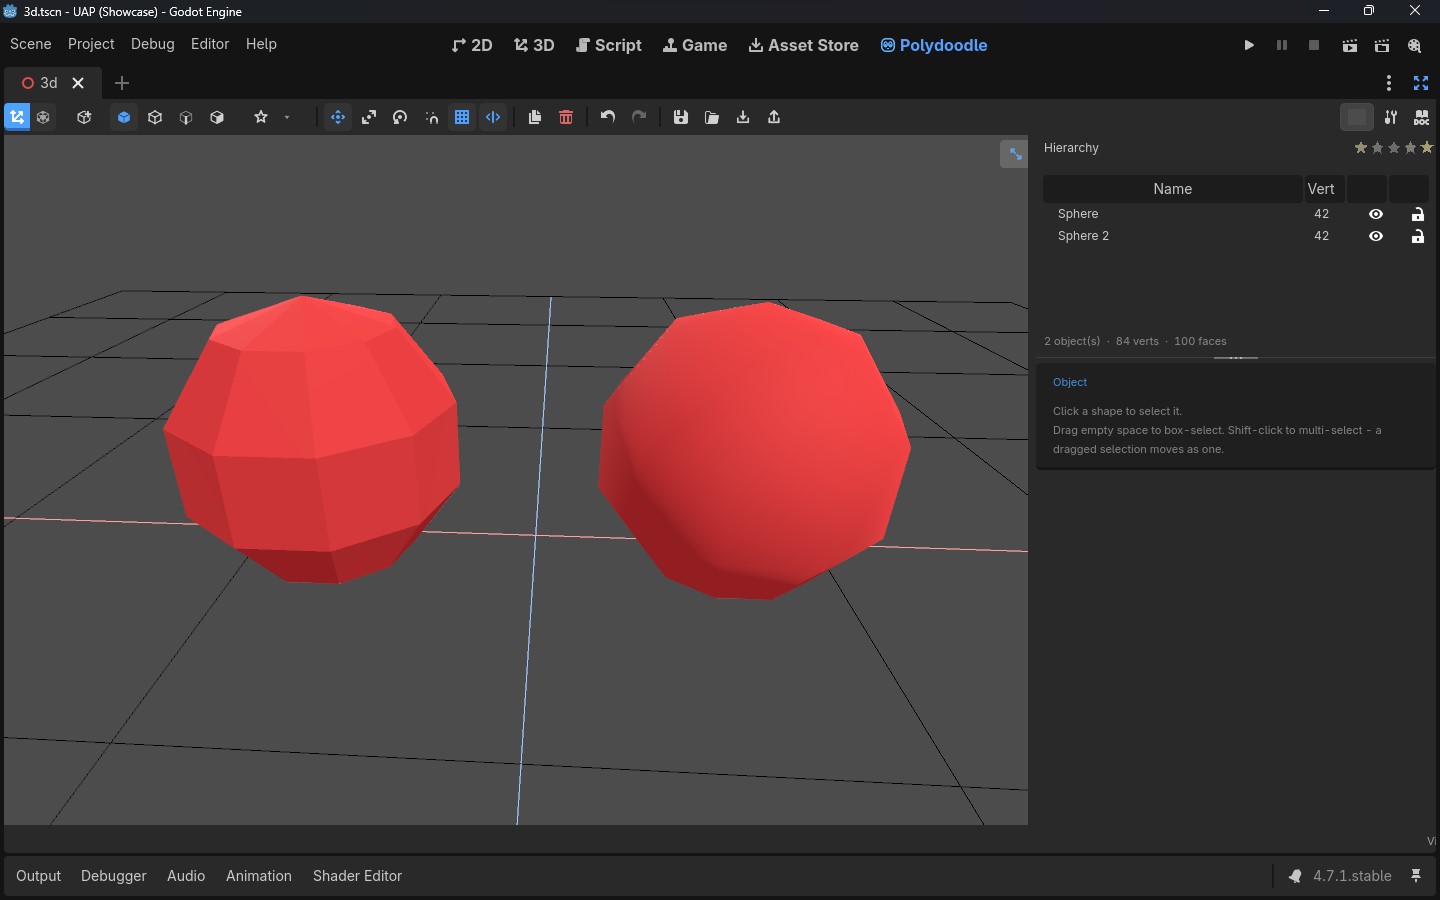
Every object has its own shading setting now - Flat keeps that classic blocky low-poly look, Smooth rounds things out by blending normals across shared vertices. A low-poly crate can be Flat while a sphere sitting right next to it is Smooth, and they won't clash.
It's a per-object toggle in the right panel, or the little switch next to each object in the hierarchy.
Painting
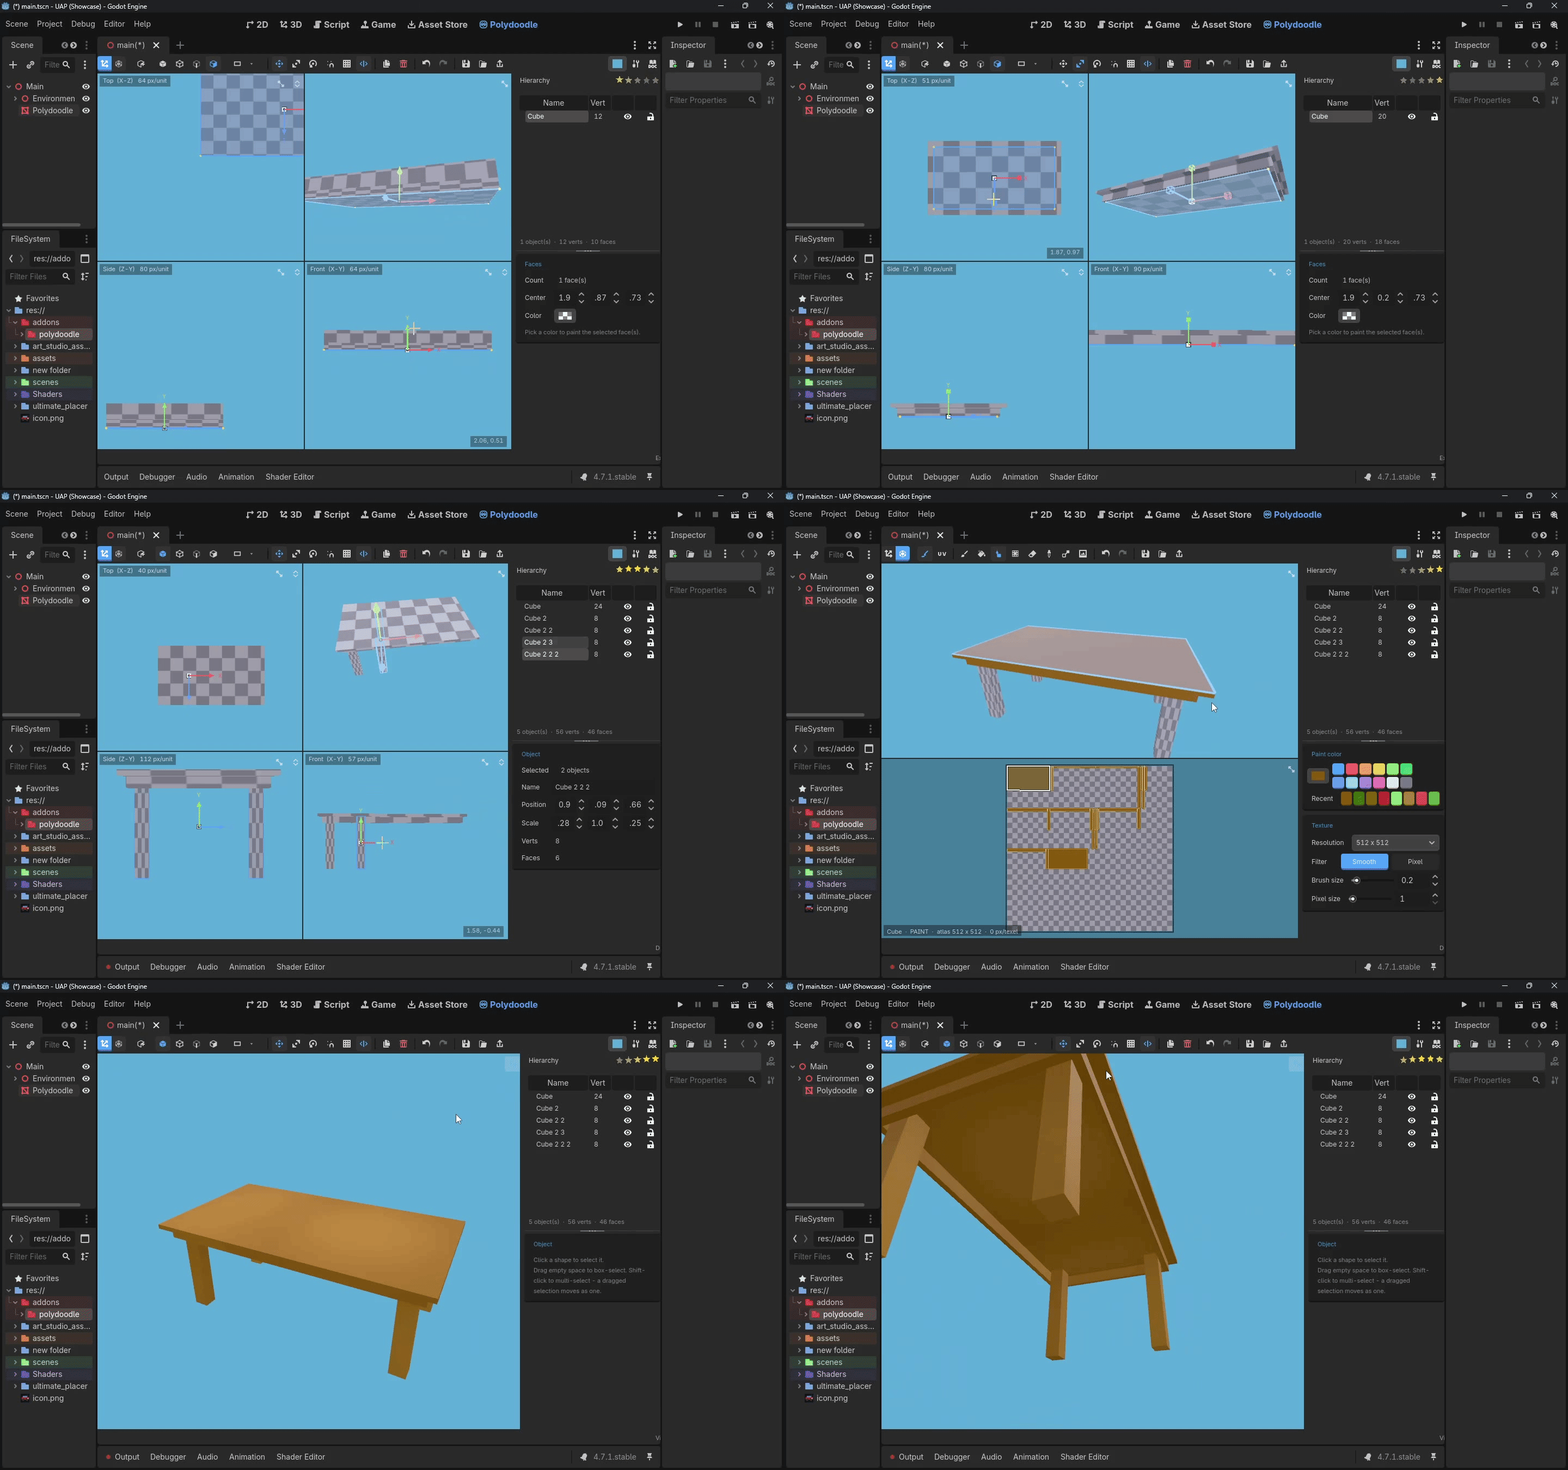
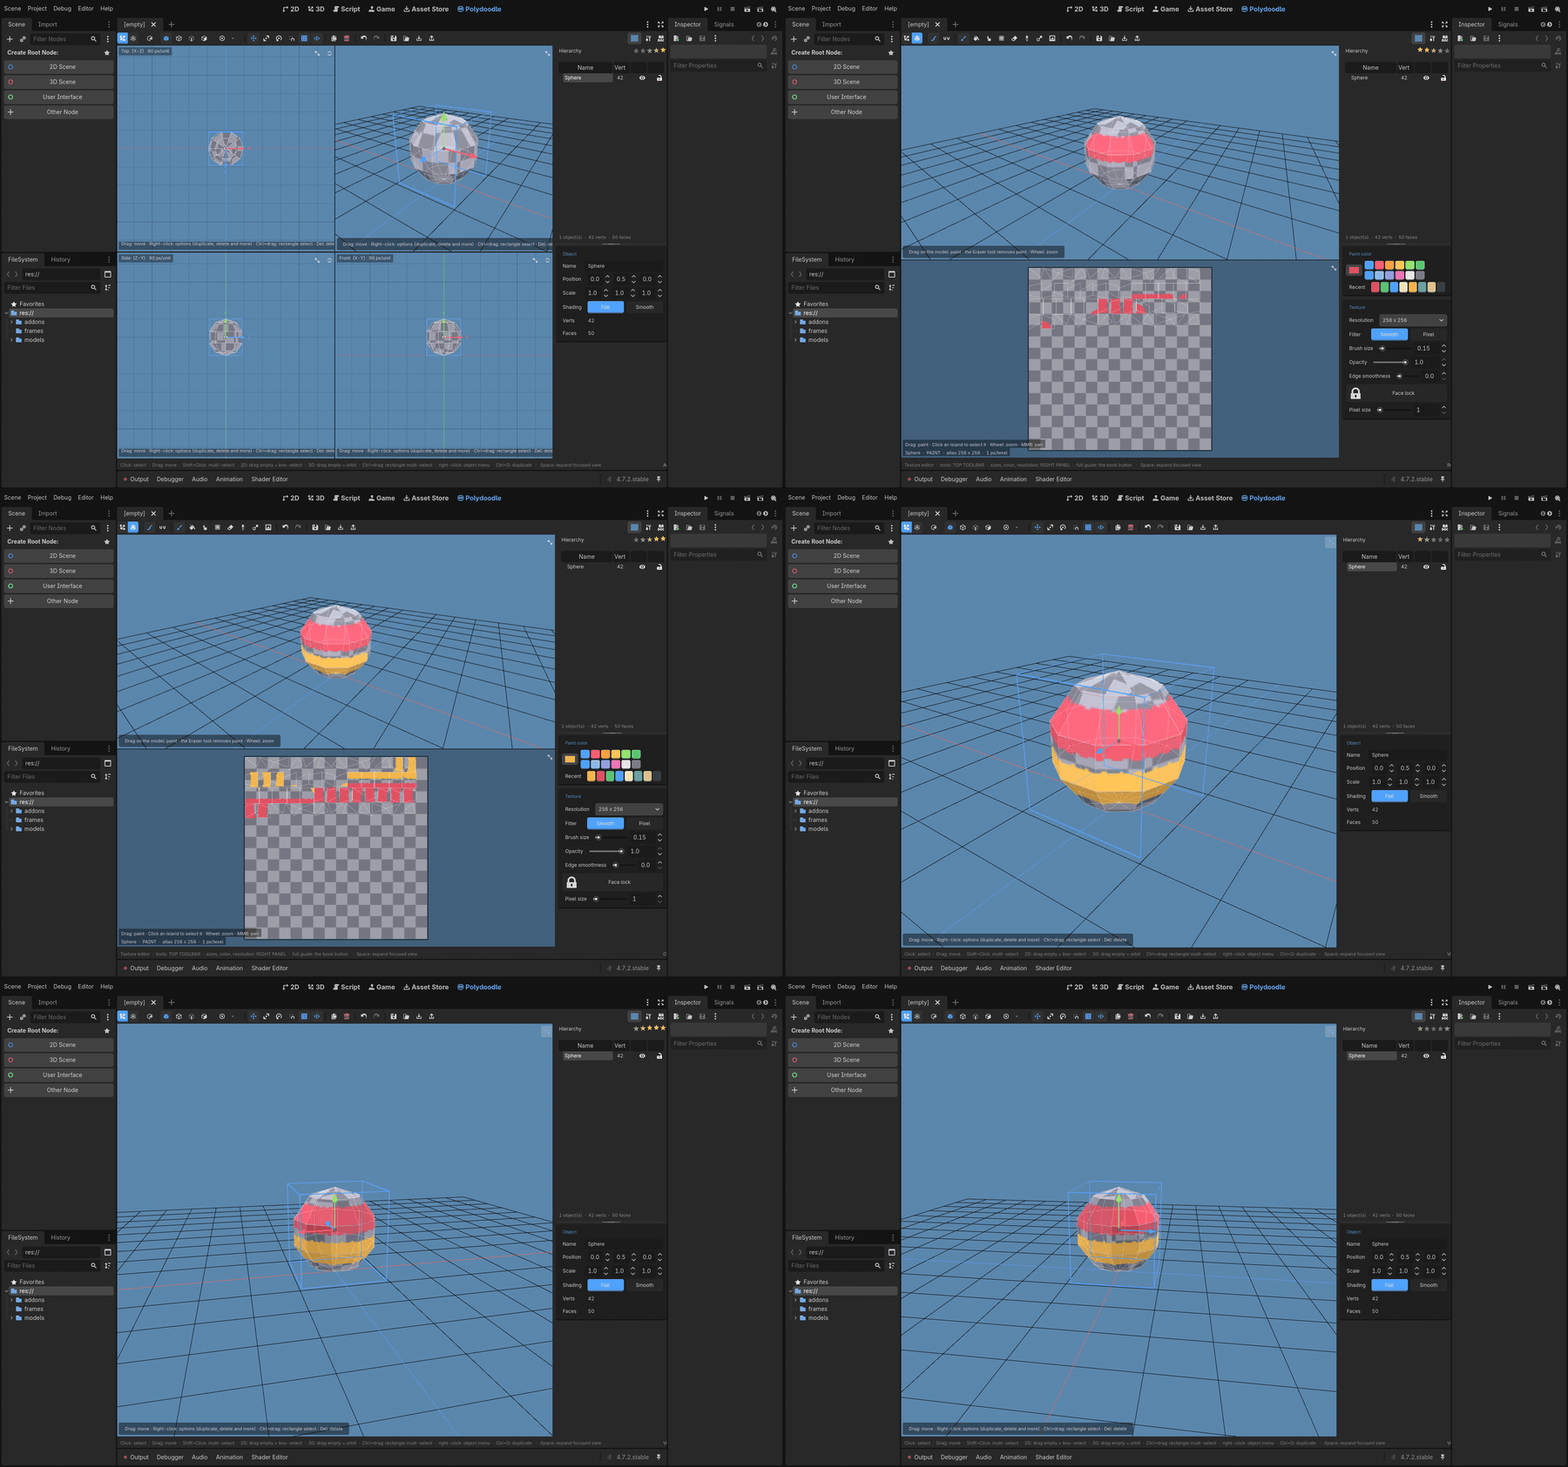
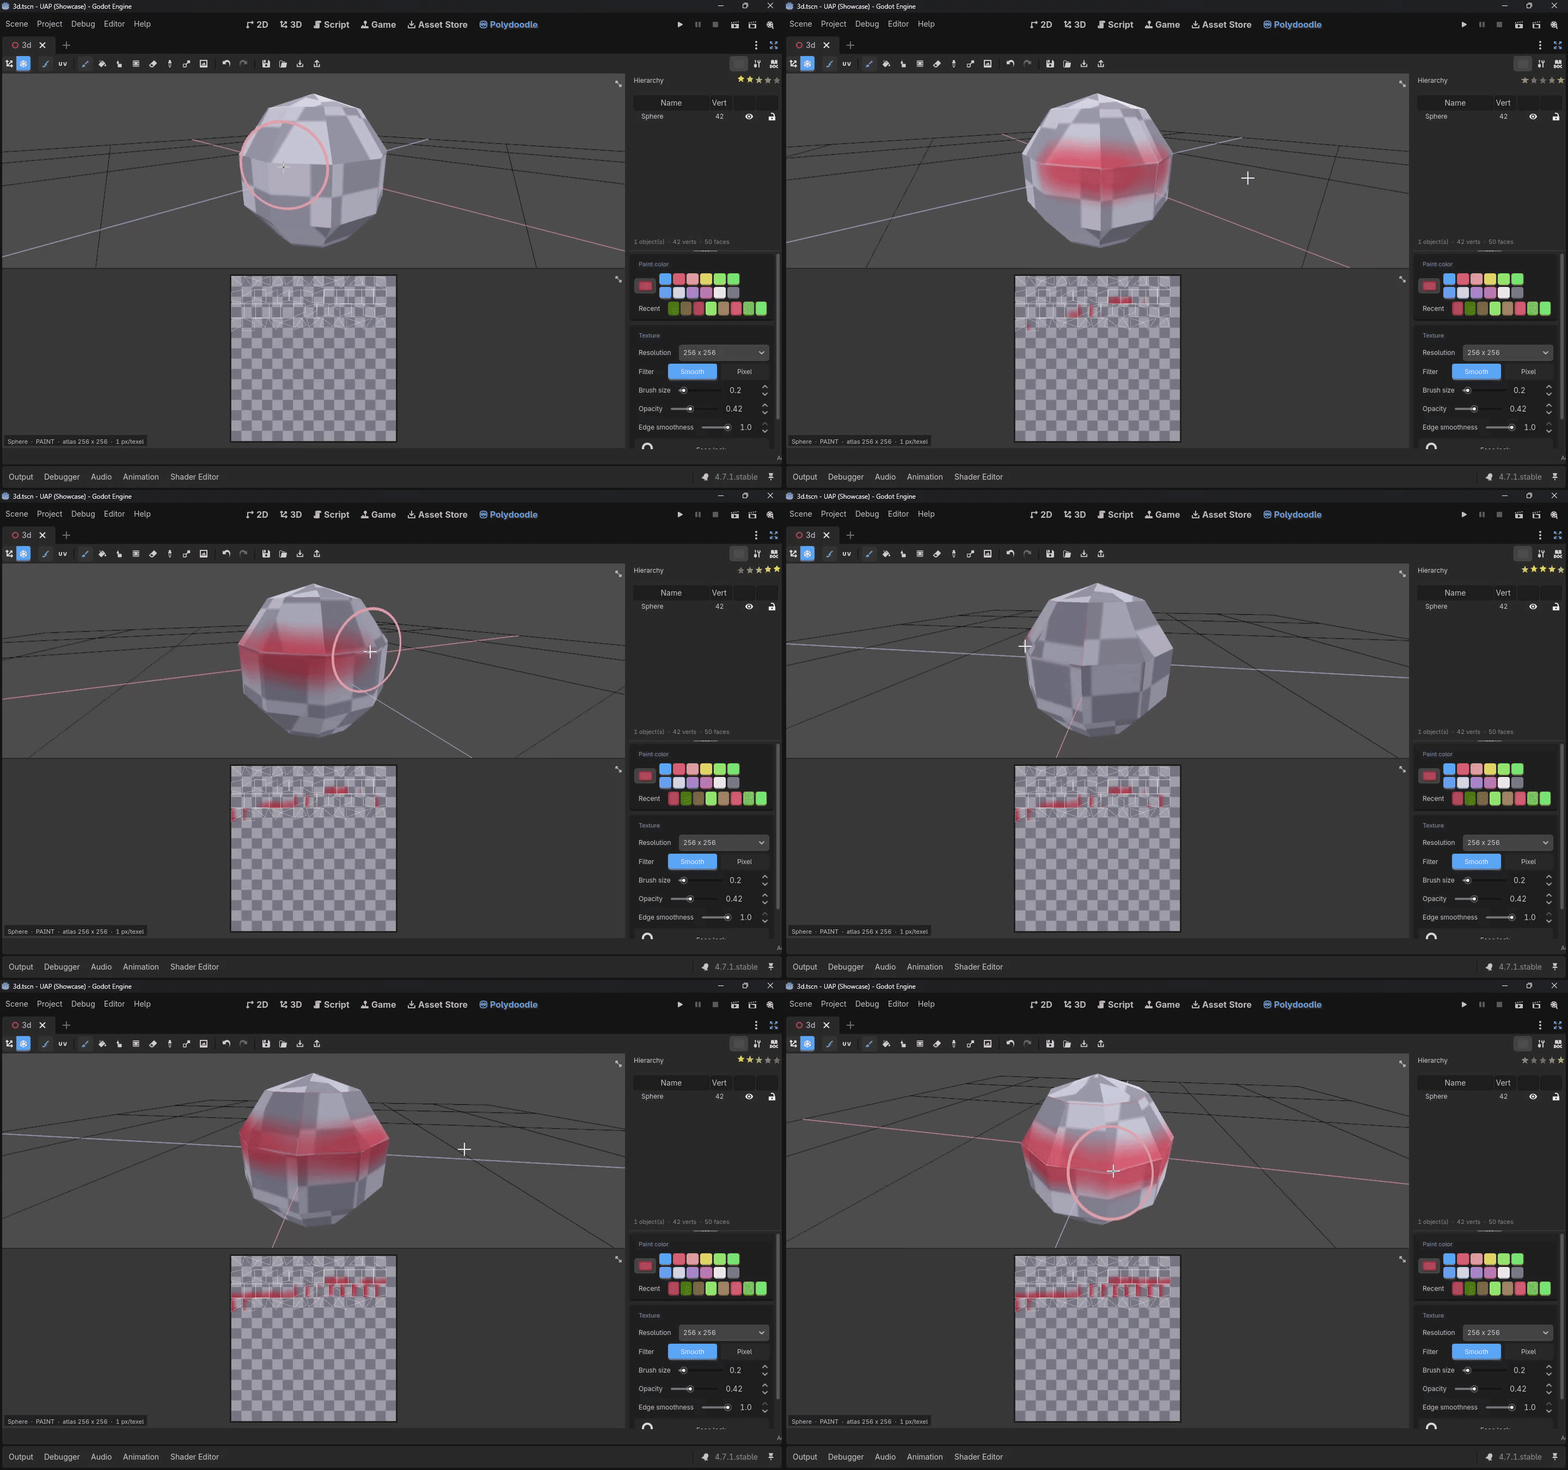
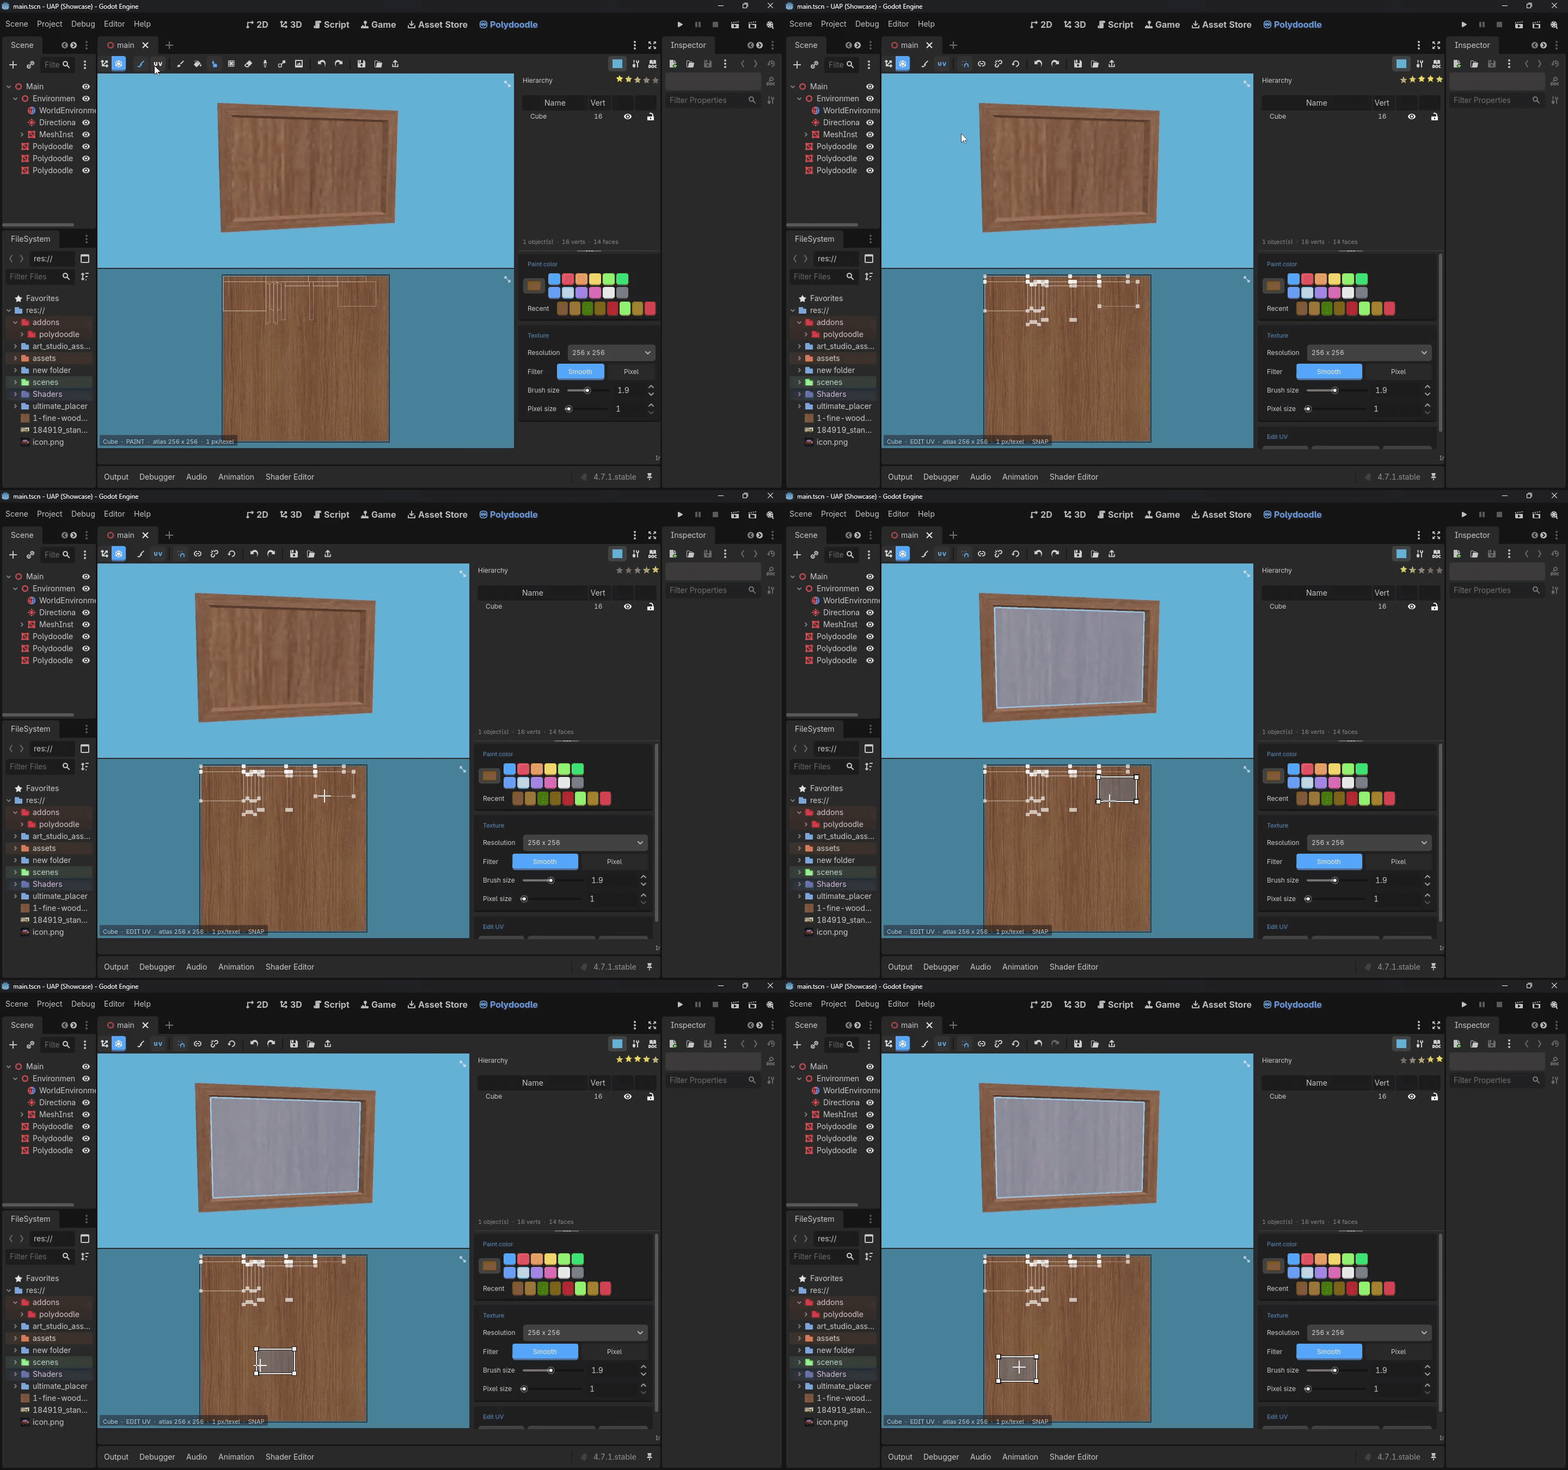
Switch to the Texture Editor and the canvas at the bottom is your model's texture atlas - every face gets its own little rectangle on it. Nothing is painted at first; you're looking at a transparent page with a checkerboard showing through underneath so you can actually see where you are.
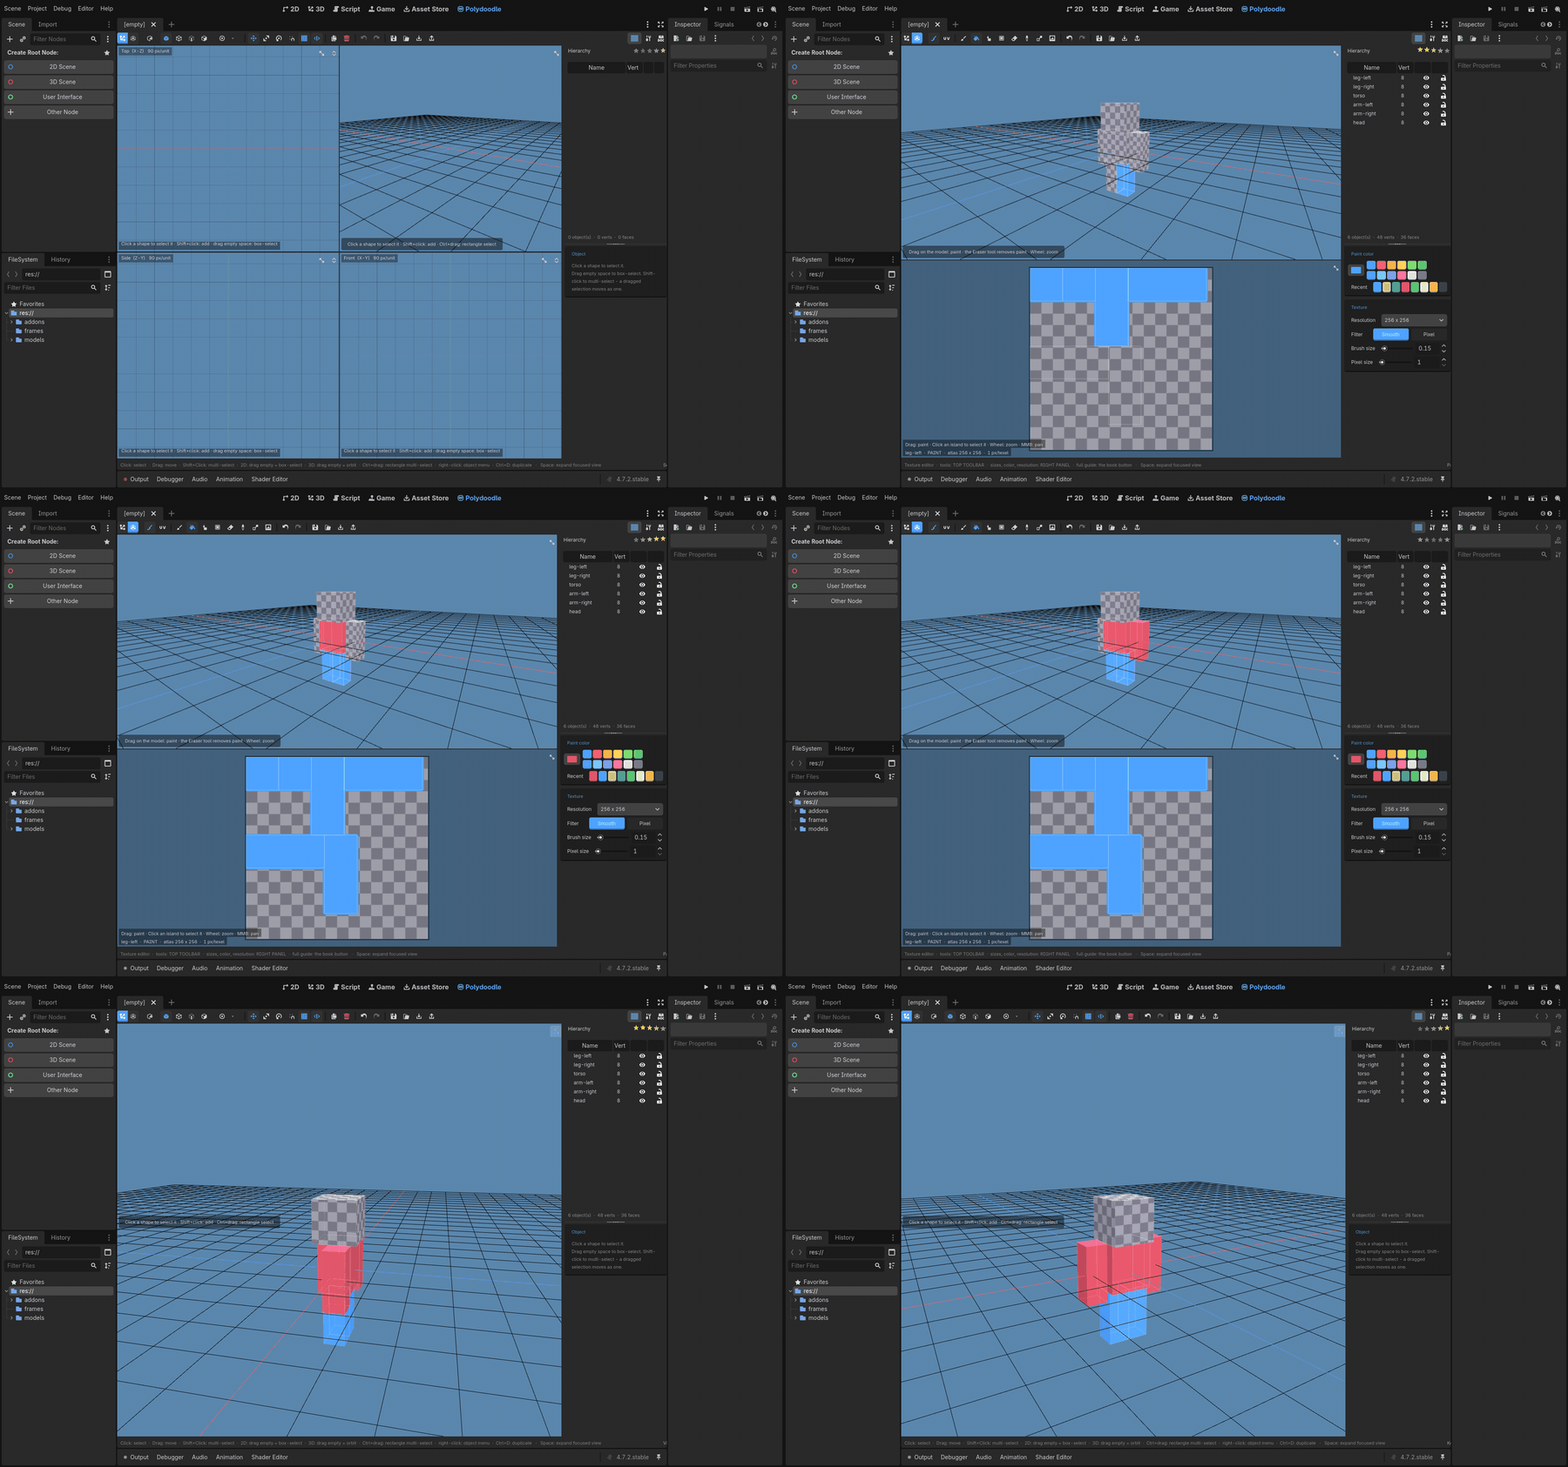
Paint on the canvas, it shows up on the model. Paint on the model directly, it shows up on the canvas. Same texels, same result, pick whichever feels more natural for what you're doing.
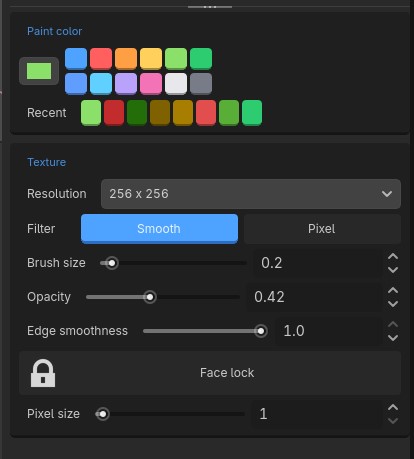
Tools available: Brush, Fill, Fill Object, a dedicated Pixel brush for actual pixel art, Eraser, an eyedropper (Picker), and Replace, which swaps every texel of one color for another across the whole texture - with a tolerance slider if you don't need it to be exact.
Transparency
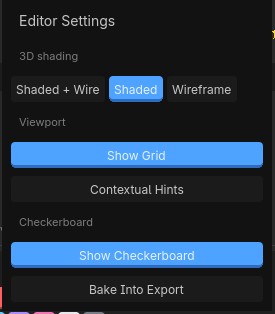
By default, anything you don't paint stays transparent - both in the viewport and when you export. If you'd rather see the old checkerboard placeholder instead of transparency while you work, there's a toggle for that in the gear menu, along with an option to bake the checkerboard into your exports if that's the look you actually want.
UV editing
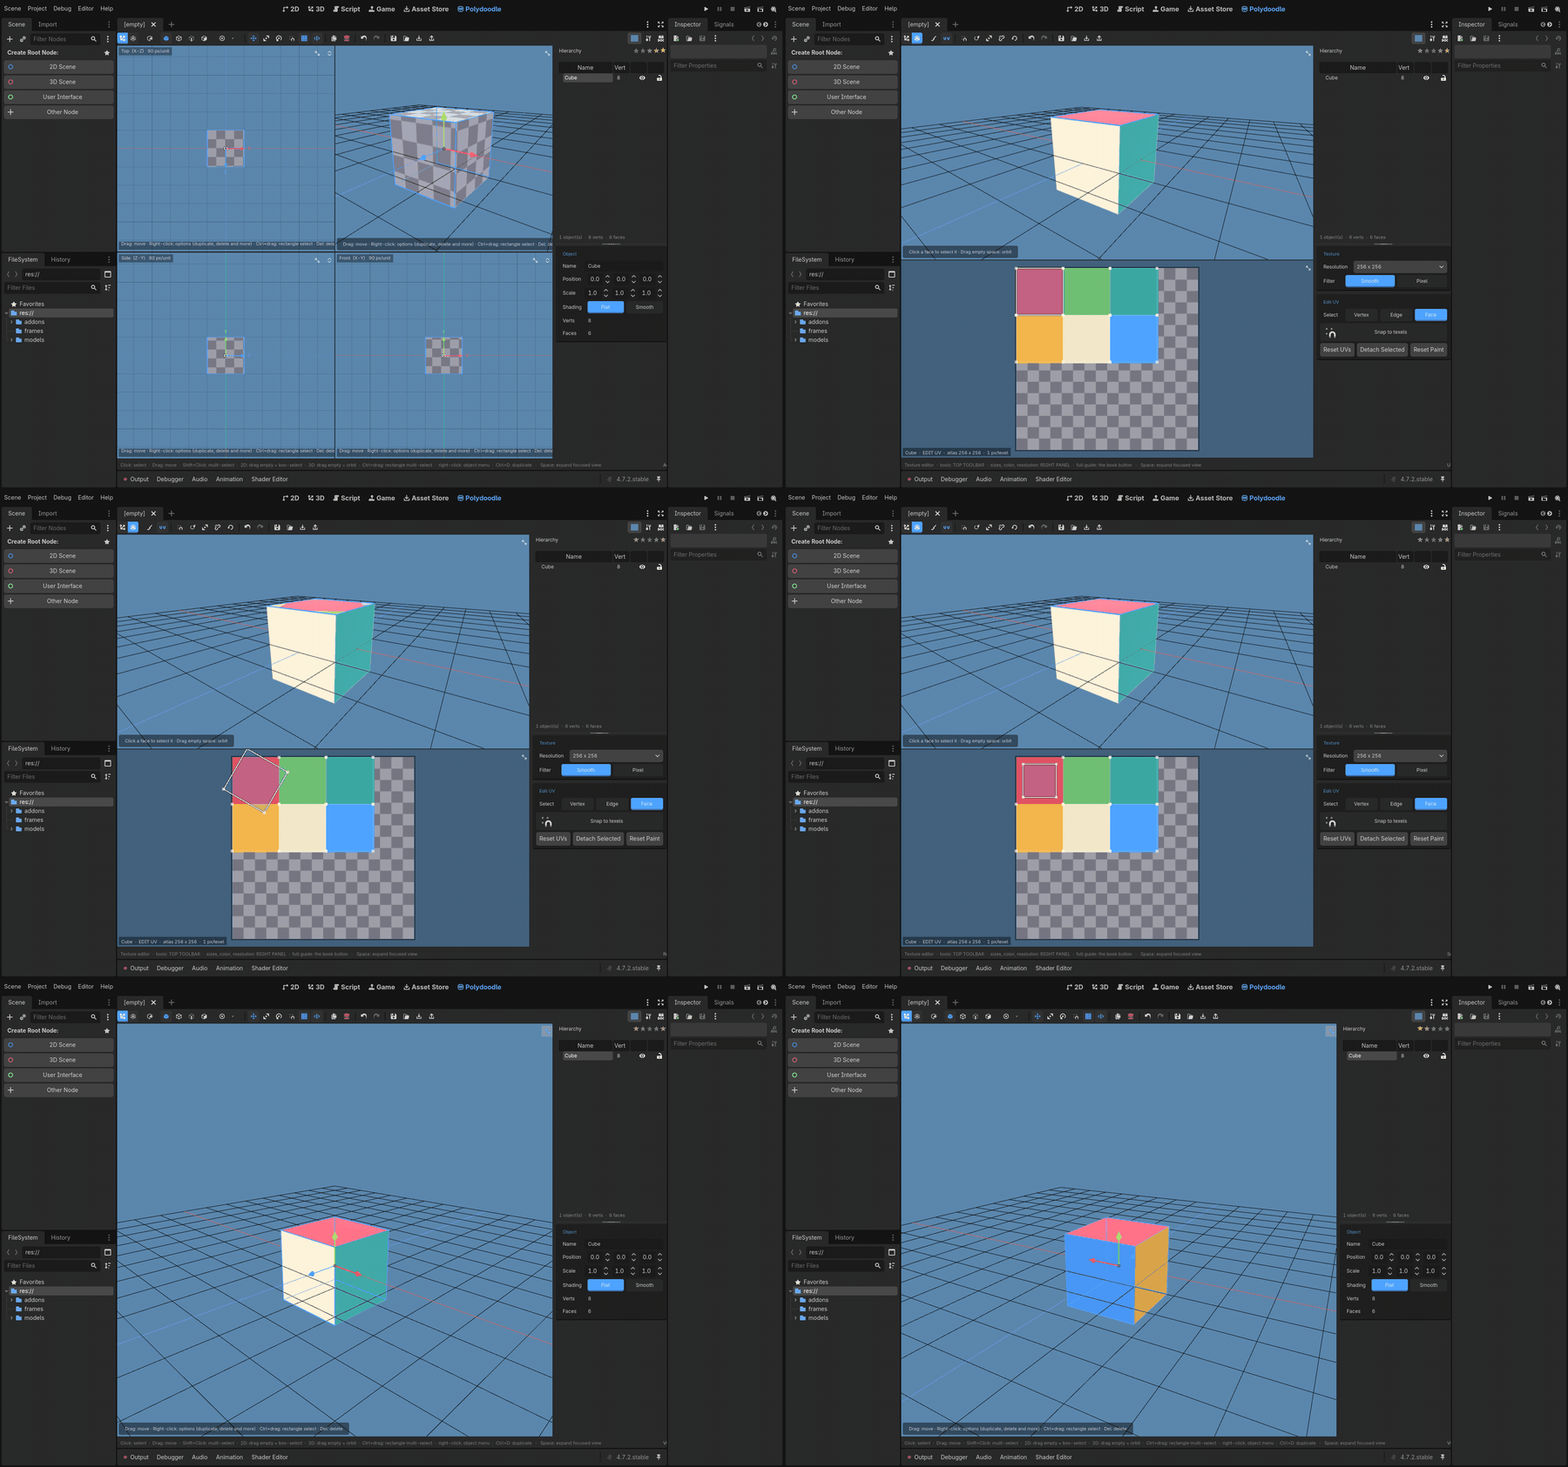
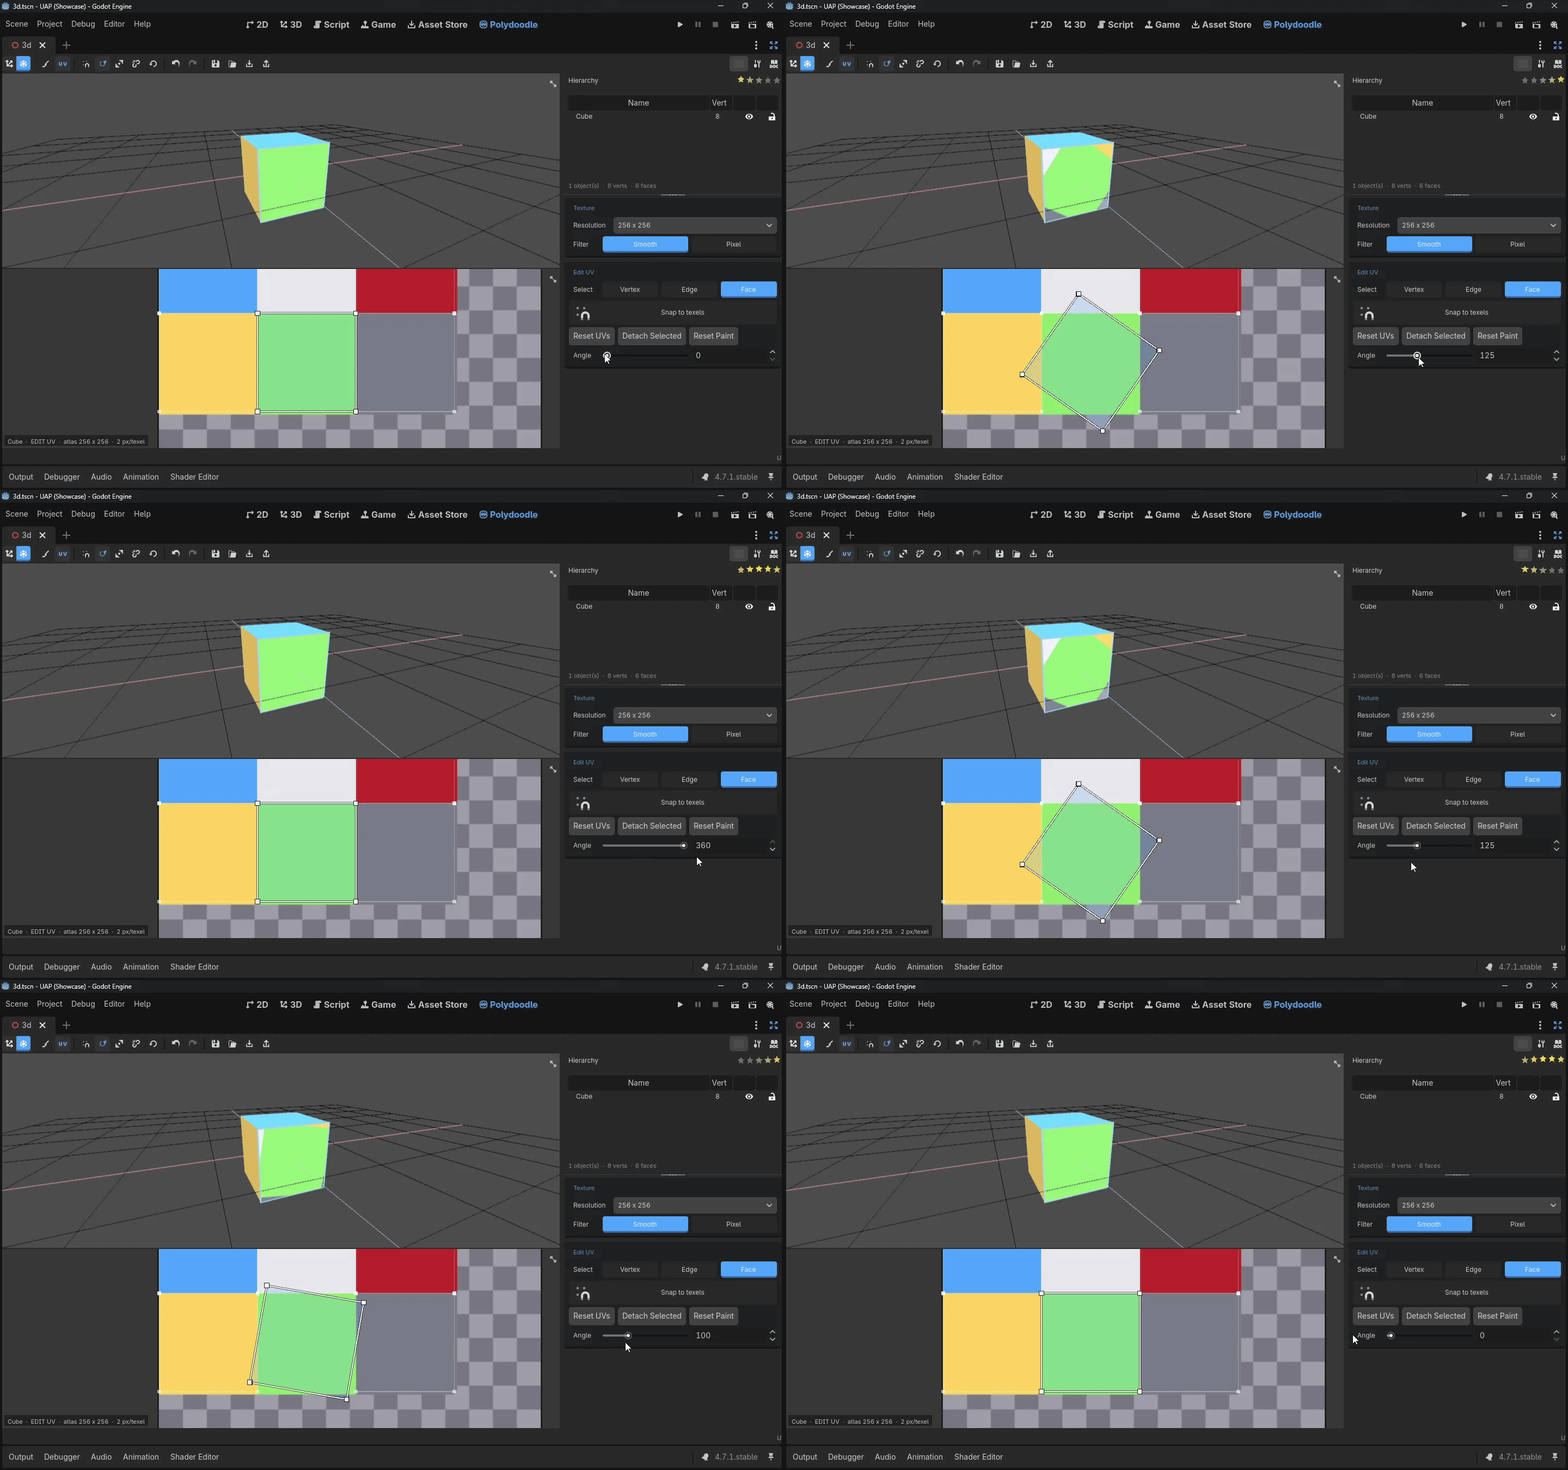
Switch to Edit UV mode on the canvas and you can grab any island - a corner, an edge, or the whole thing - and drag it wherever you need. Detach an island to pull it off the group and give it its own space on the atlas.
There's also dedicated Rotate and Scale tools for UVs now, so you can straighten up a crooked island or resize one to fit a tighter space, both with snapping so it lands exactly on the texel grid.
Bringing in existing models
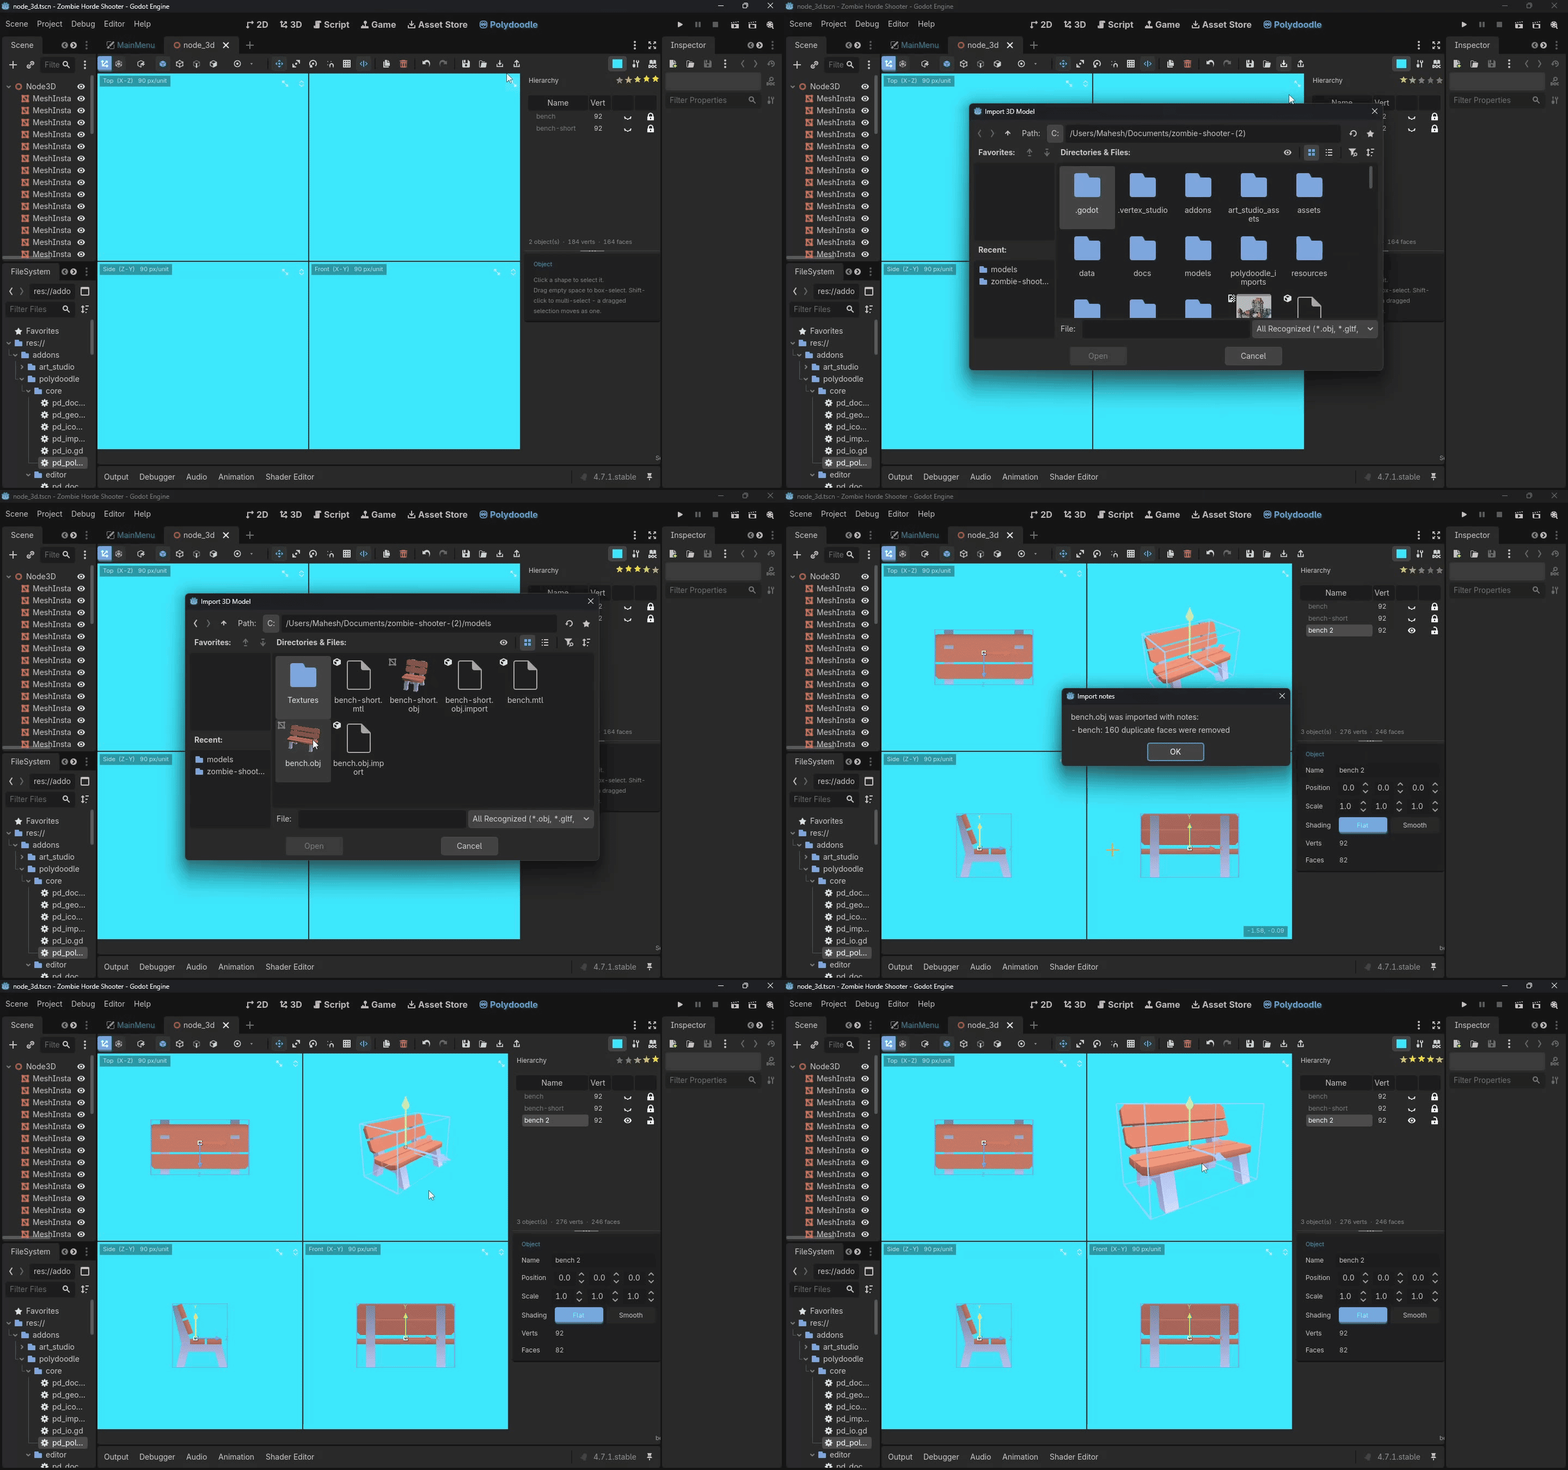
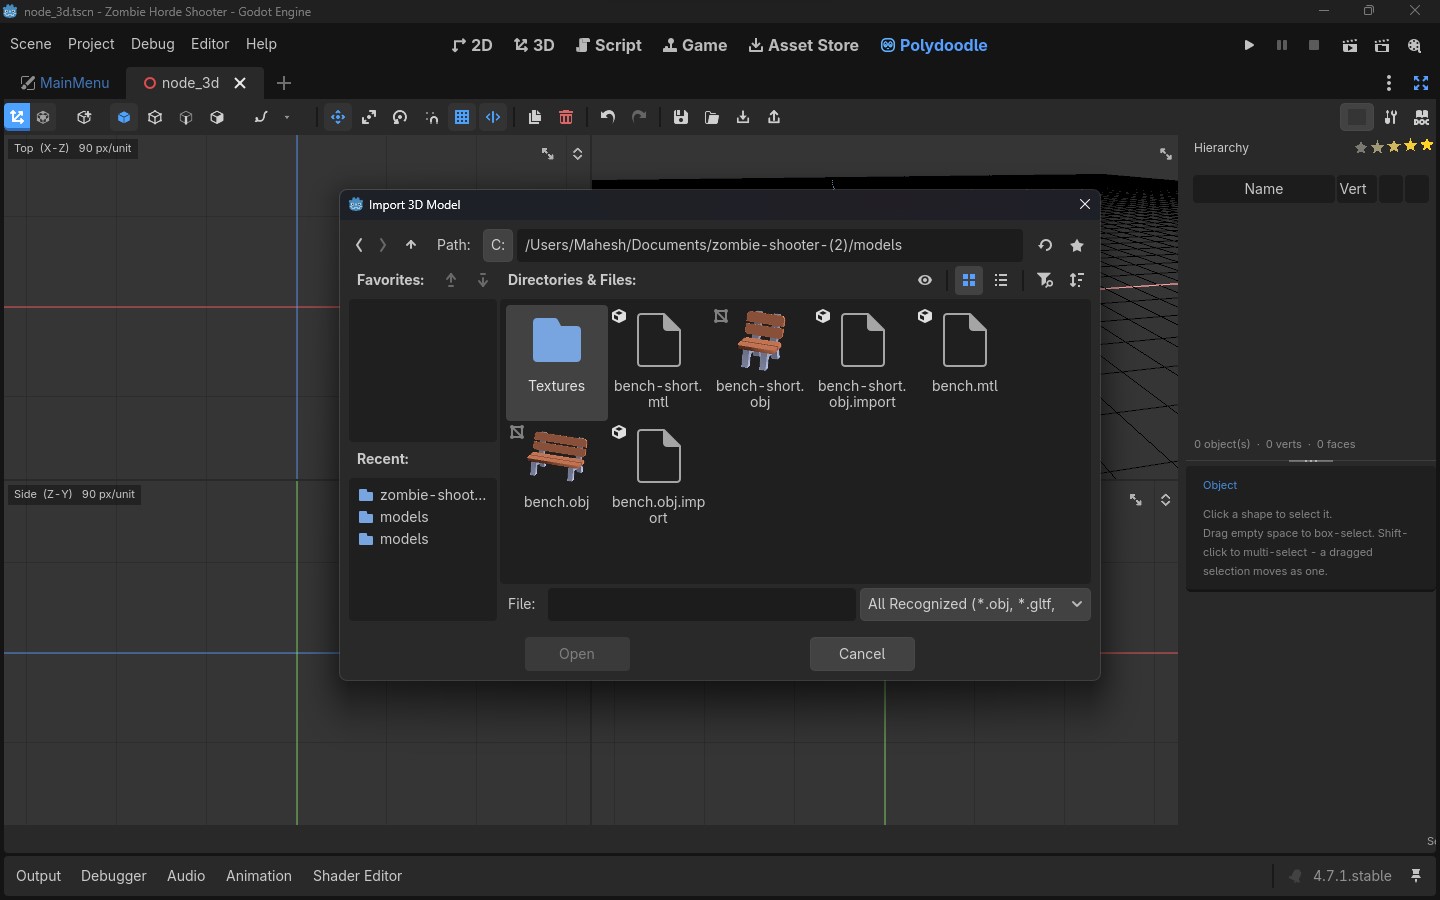
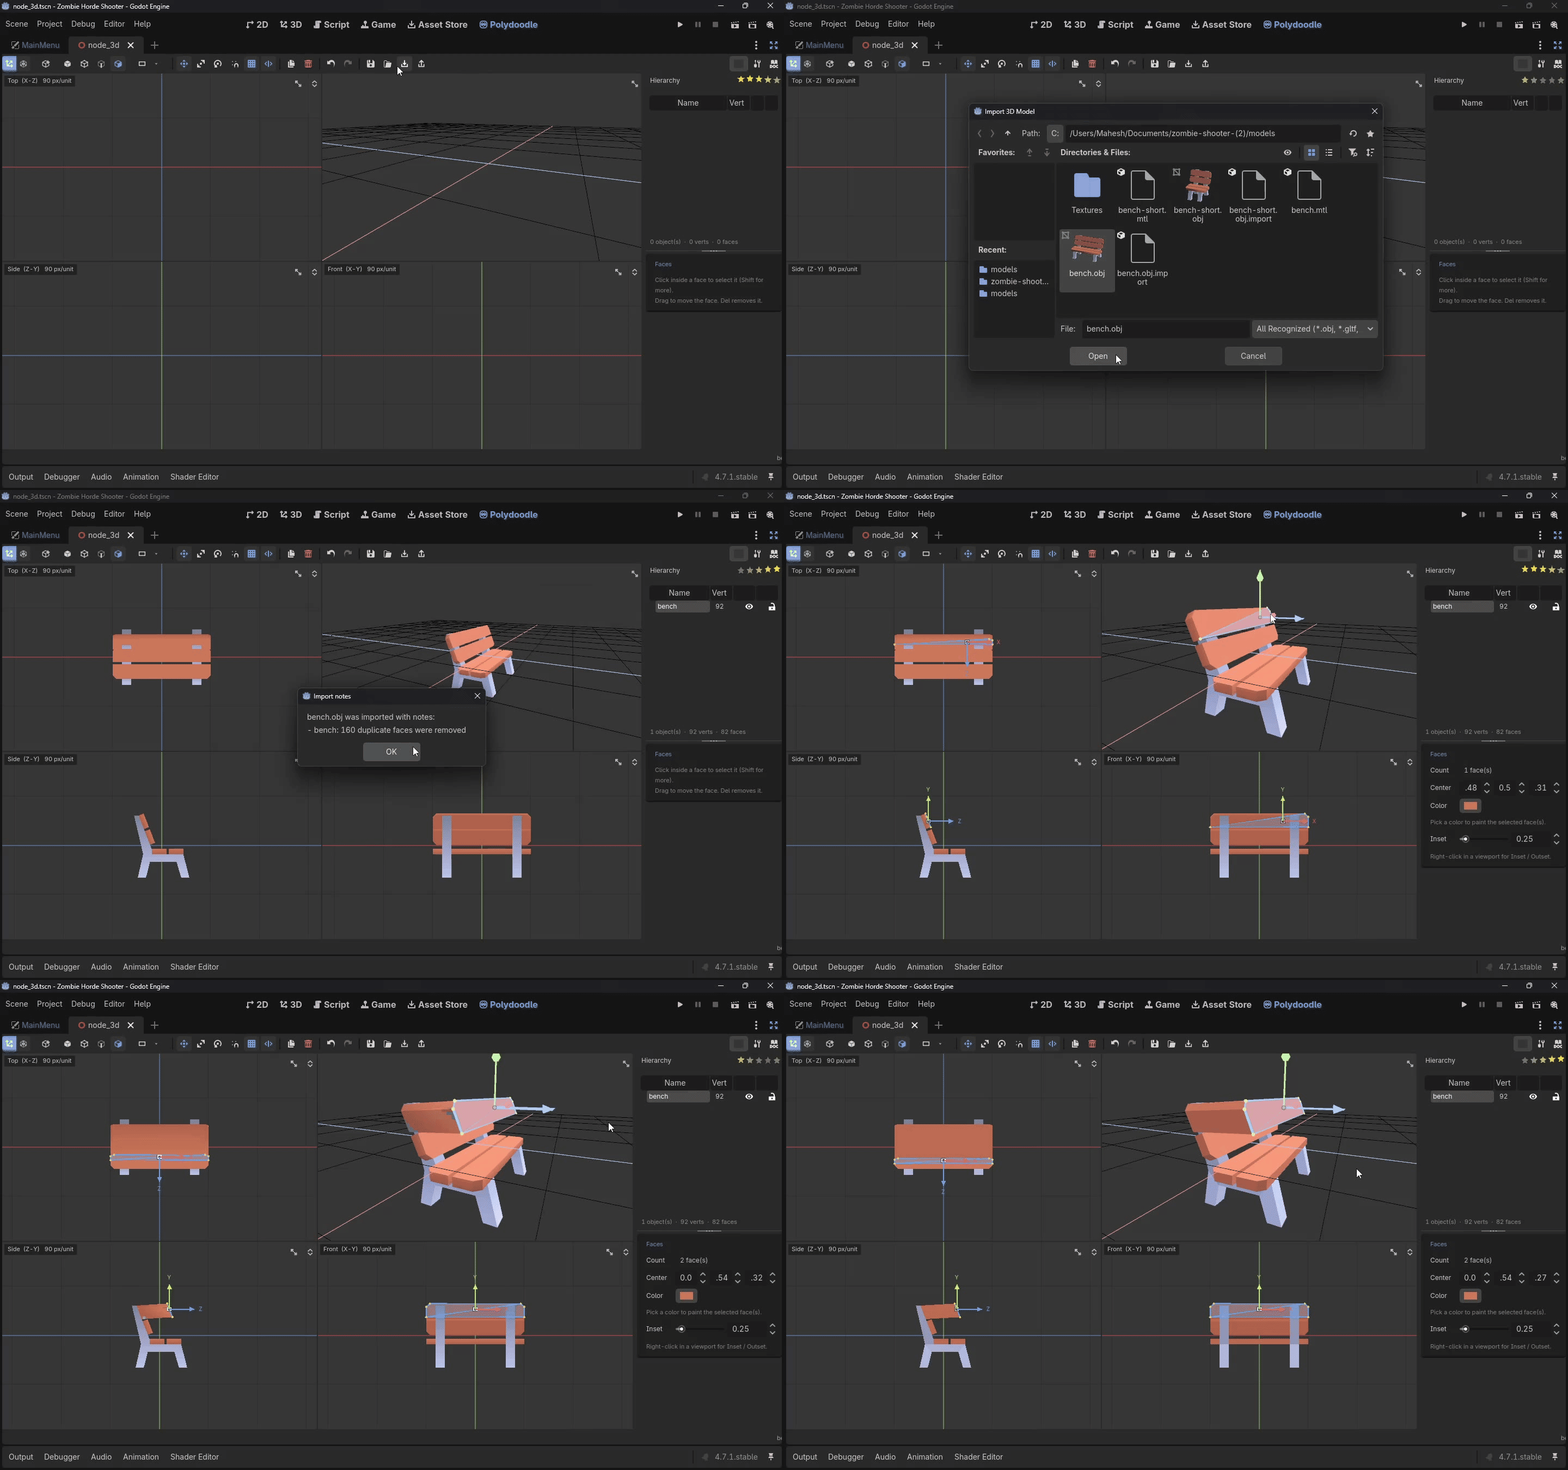
Hit Import Model and you can bring in an OBJ, glTF/GLB, FBX, or a Godot scene/mesh file that's already in your project. Polydoodle welds any duplicate vertices, merges flat triangle pairs back into quads where it can, and turns every mesh in the file into its own editable object.
Textures come along too - they get re-baked straight into the atlas, so the model keeps its look and you can just keep working on it from there.
It's built for low-poly stuff, so there's a ceiling: things get noticeably slower to edit past 1,500 faces, and anything over 5,000 after cleanup won't import at all. If you're pulling something in from Blender, decimate it down first.
Saving your work
Ctrl+Z / Ctrl+Shift+Z undo and redo across basically everything - 48 steps deep. Save writes a .pdoodle project file (plain text, so it plays nice with git). You don't actually have to remember to save though - Polydoodle quietly auto-saves your session in the background, so closing and reopening Godot leaves everything exactly where you left it.
Exporting into your game
A few ways to get your model out:
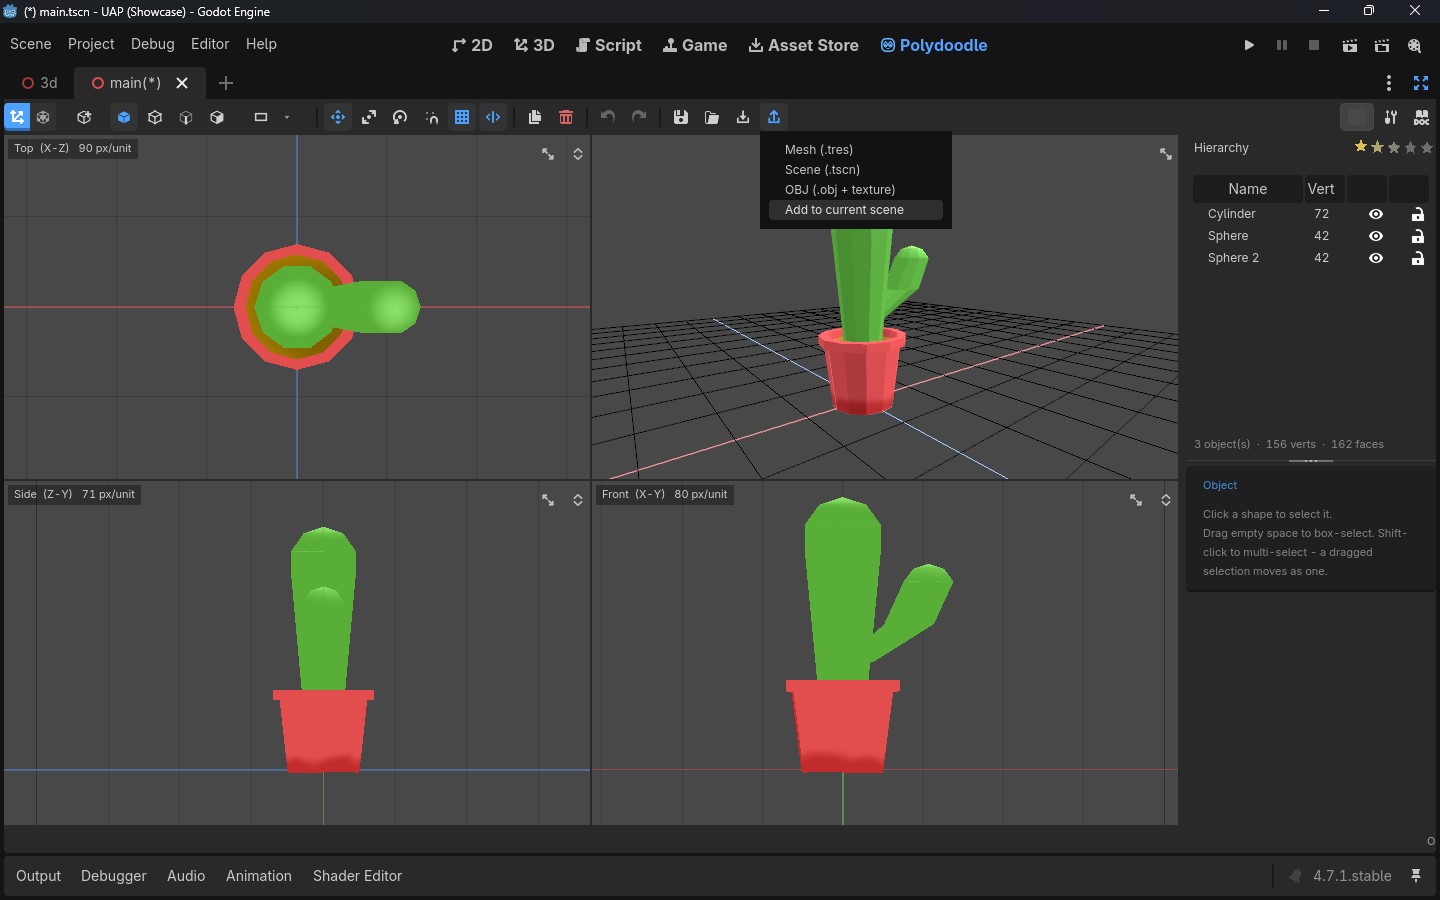
- Mesh (.tres) - an ArrayMesh you can drop onto any MeshInstance3D.
- Scene (.tscn) - a small scene wrapping that mesh.
- OBJ - with its .mtl and a texture PNG, for Blender, Unity, wherever.
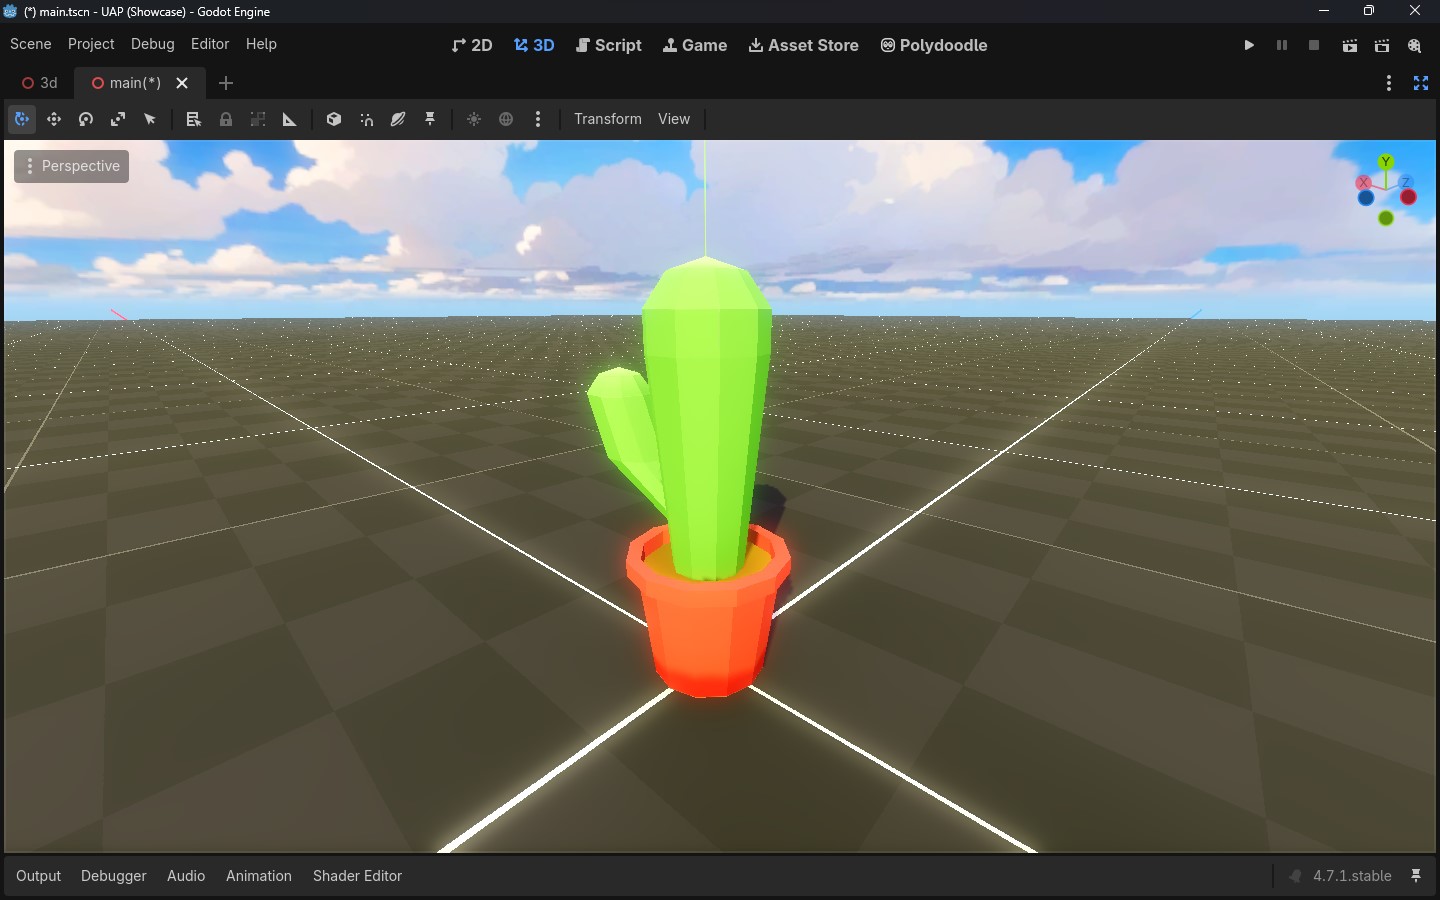
- Add to current scene - drops a MeshInstance3D straight into the scene you've got open, already selected.
Export again later on the same object and it updates that same node instead of making a duplicate - your position, rotation, and anything you parented to it stays put. So you can genuinely treat this as "model, place it, keep tweaking it" instead of a one-shot export.
A full workflow, start to finish
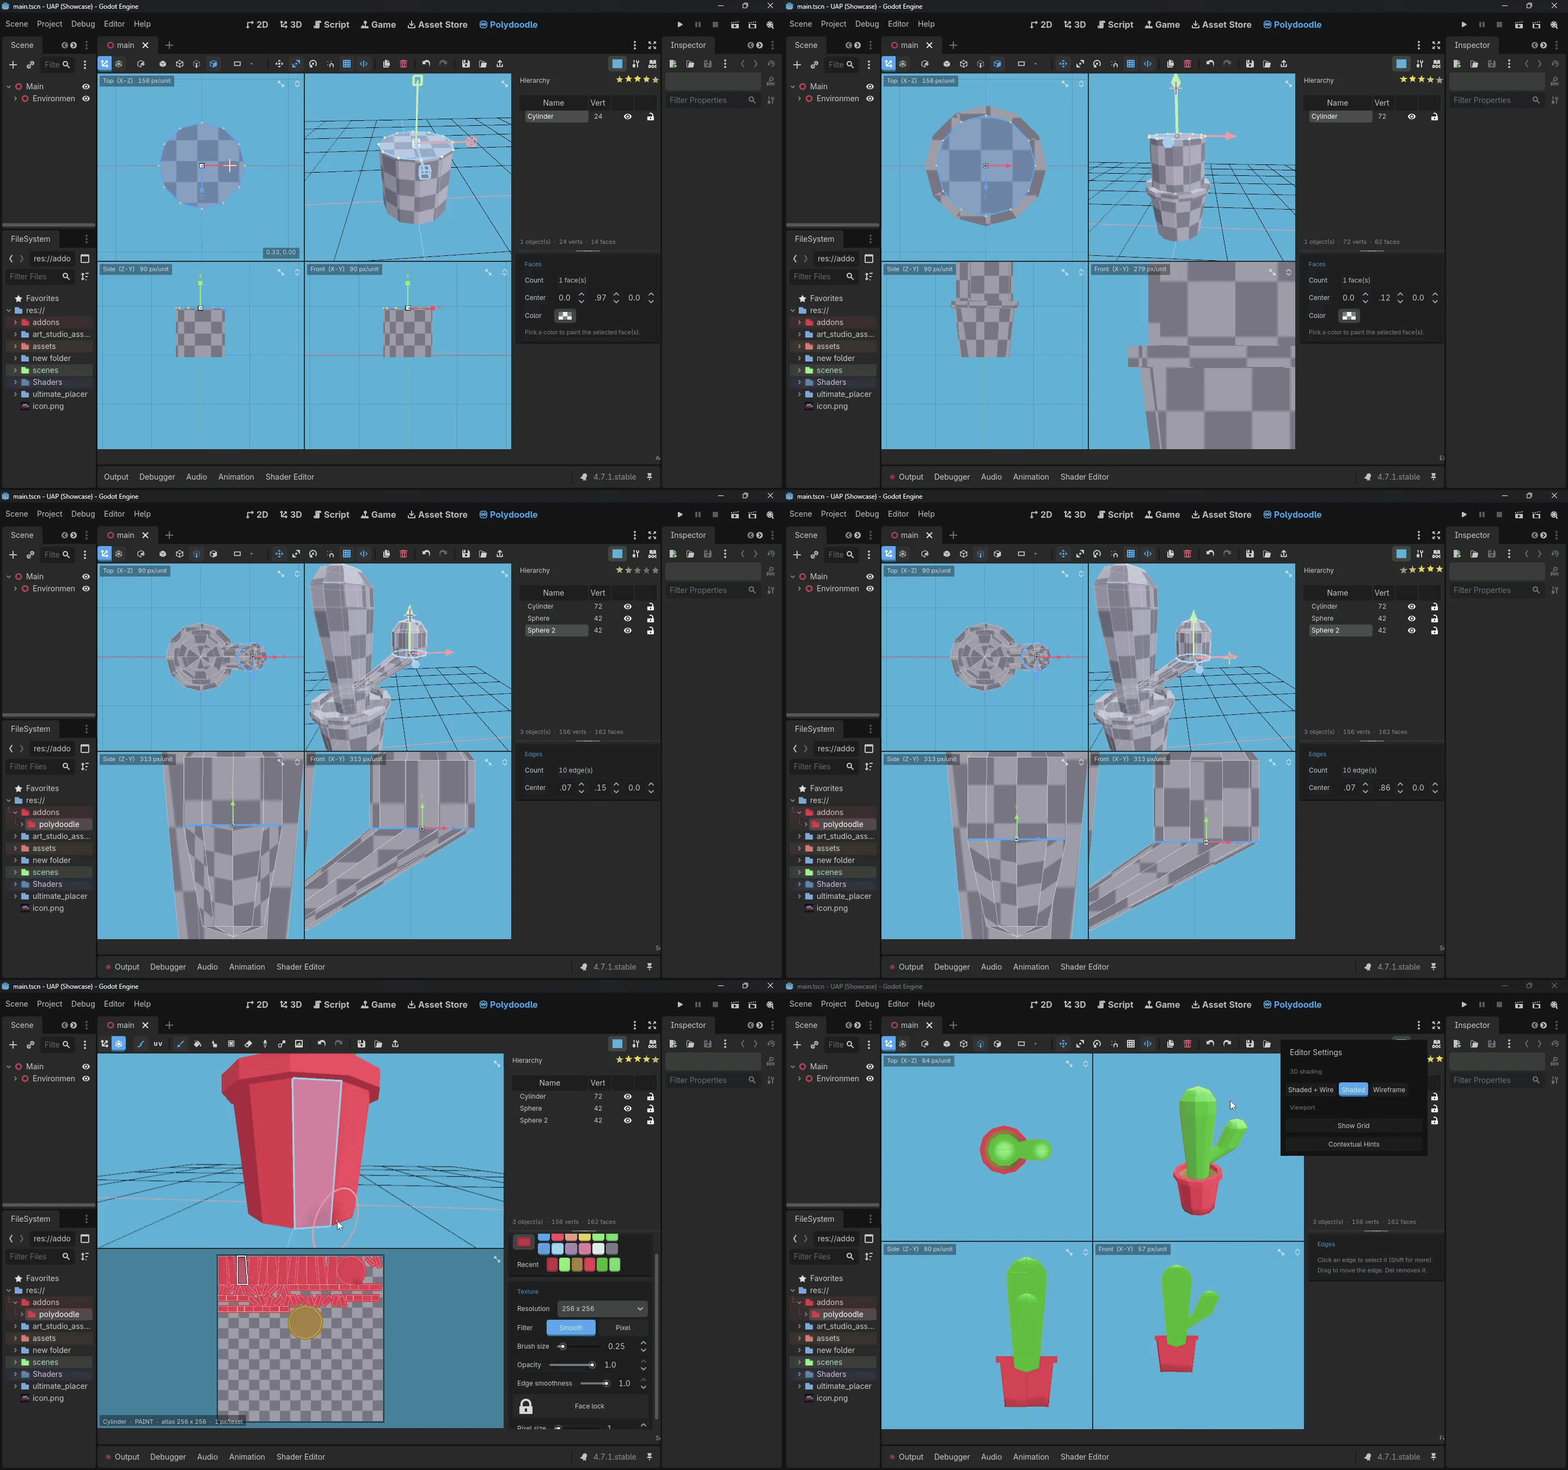
Putting it all together - here's a small low-poly house, from nothing to exported:
1. Add a Cube, scale it out to the footprint you want.
2. Add a Prism on top for the roof, scale and position it.
3. Switch to the Texture Editor, fill the wall faces with a base color, the roof with another.
4. Switch the filter to Pixel, grab the Pixel brush, and draw a few windows on directly.
5. Export as OBJ for a jam, or hit Add to current scene to drop it straight in.
That covers the whole thing. If something's still unclear, the book icon inside the plugin has the full reference docs, or just drop a comment on the plugin page and I'll help you out.
If this guide saved you some time, a rating on the plugin page goes a long way.

Leave a comment
Log in with itch.io to leave a comment.